
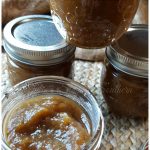
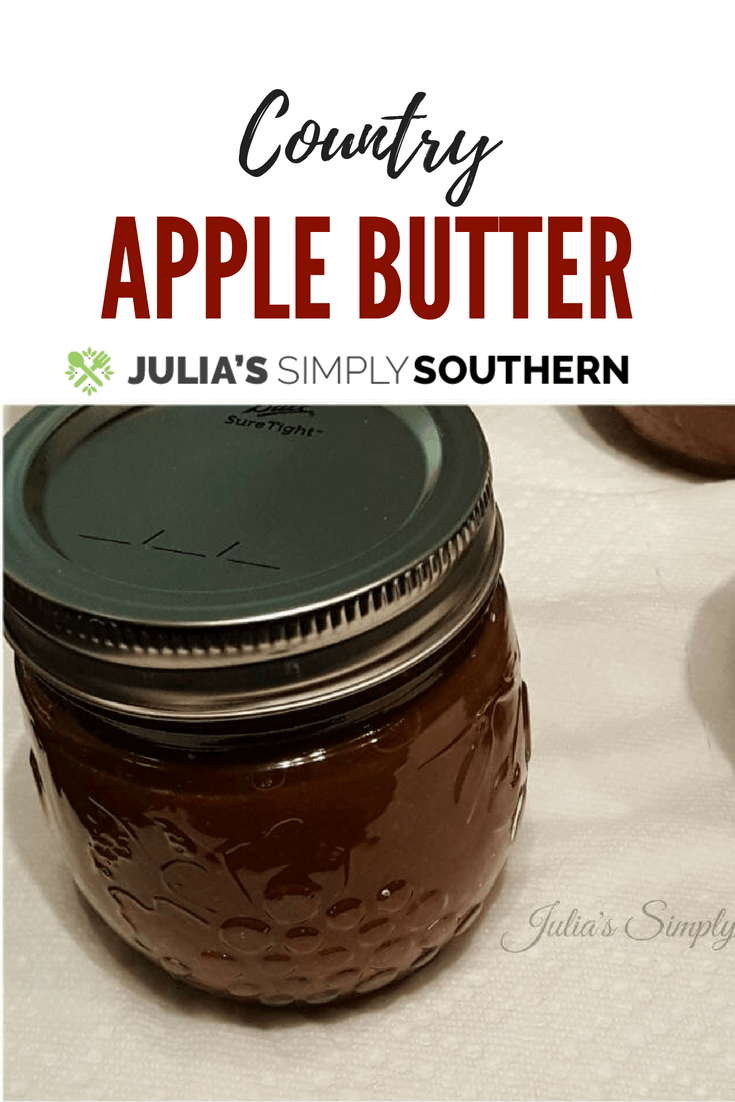
Country Apple Butter Recipe
In this post I’ll be sharing a homemade Country Apple Butter Recipe.
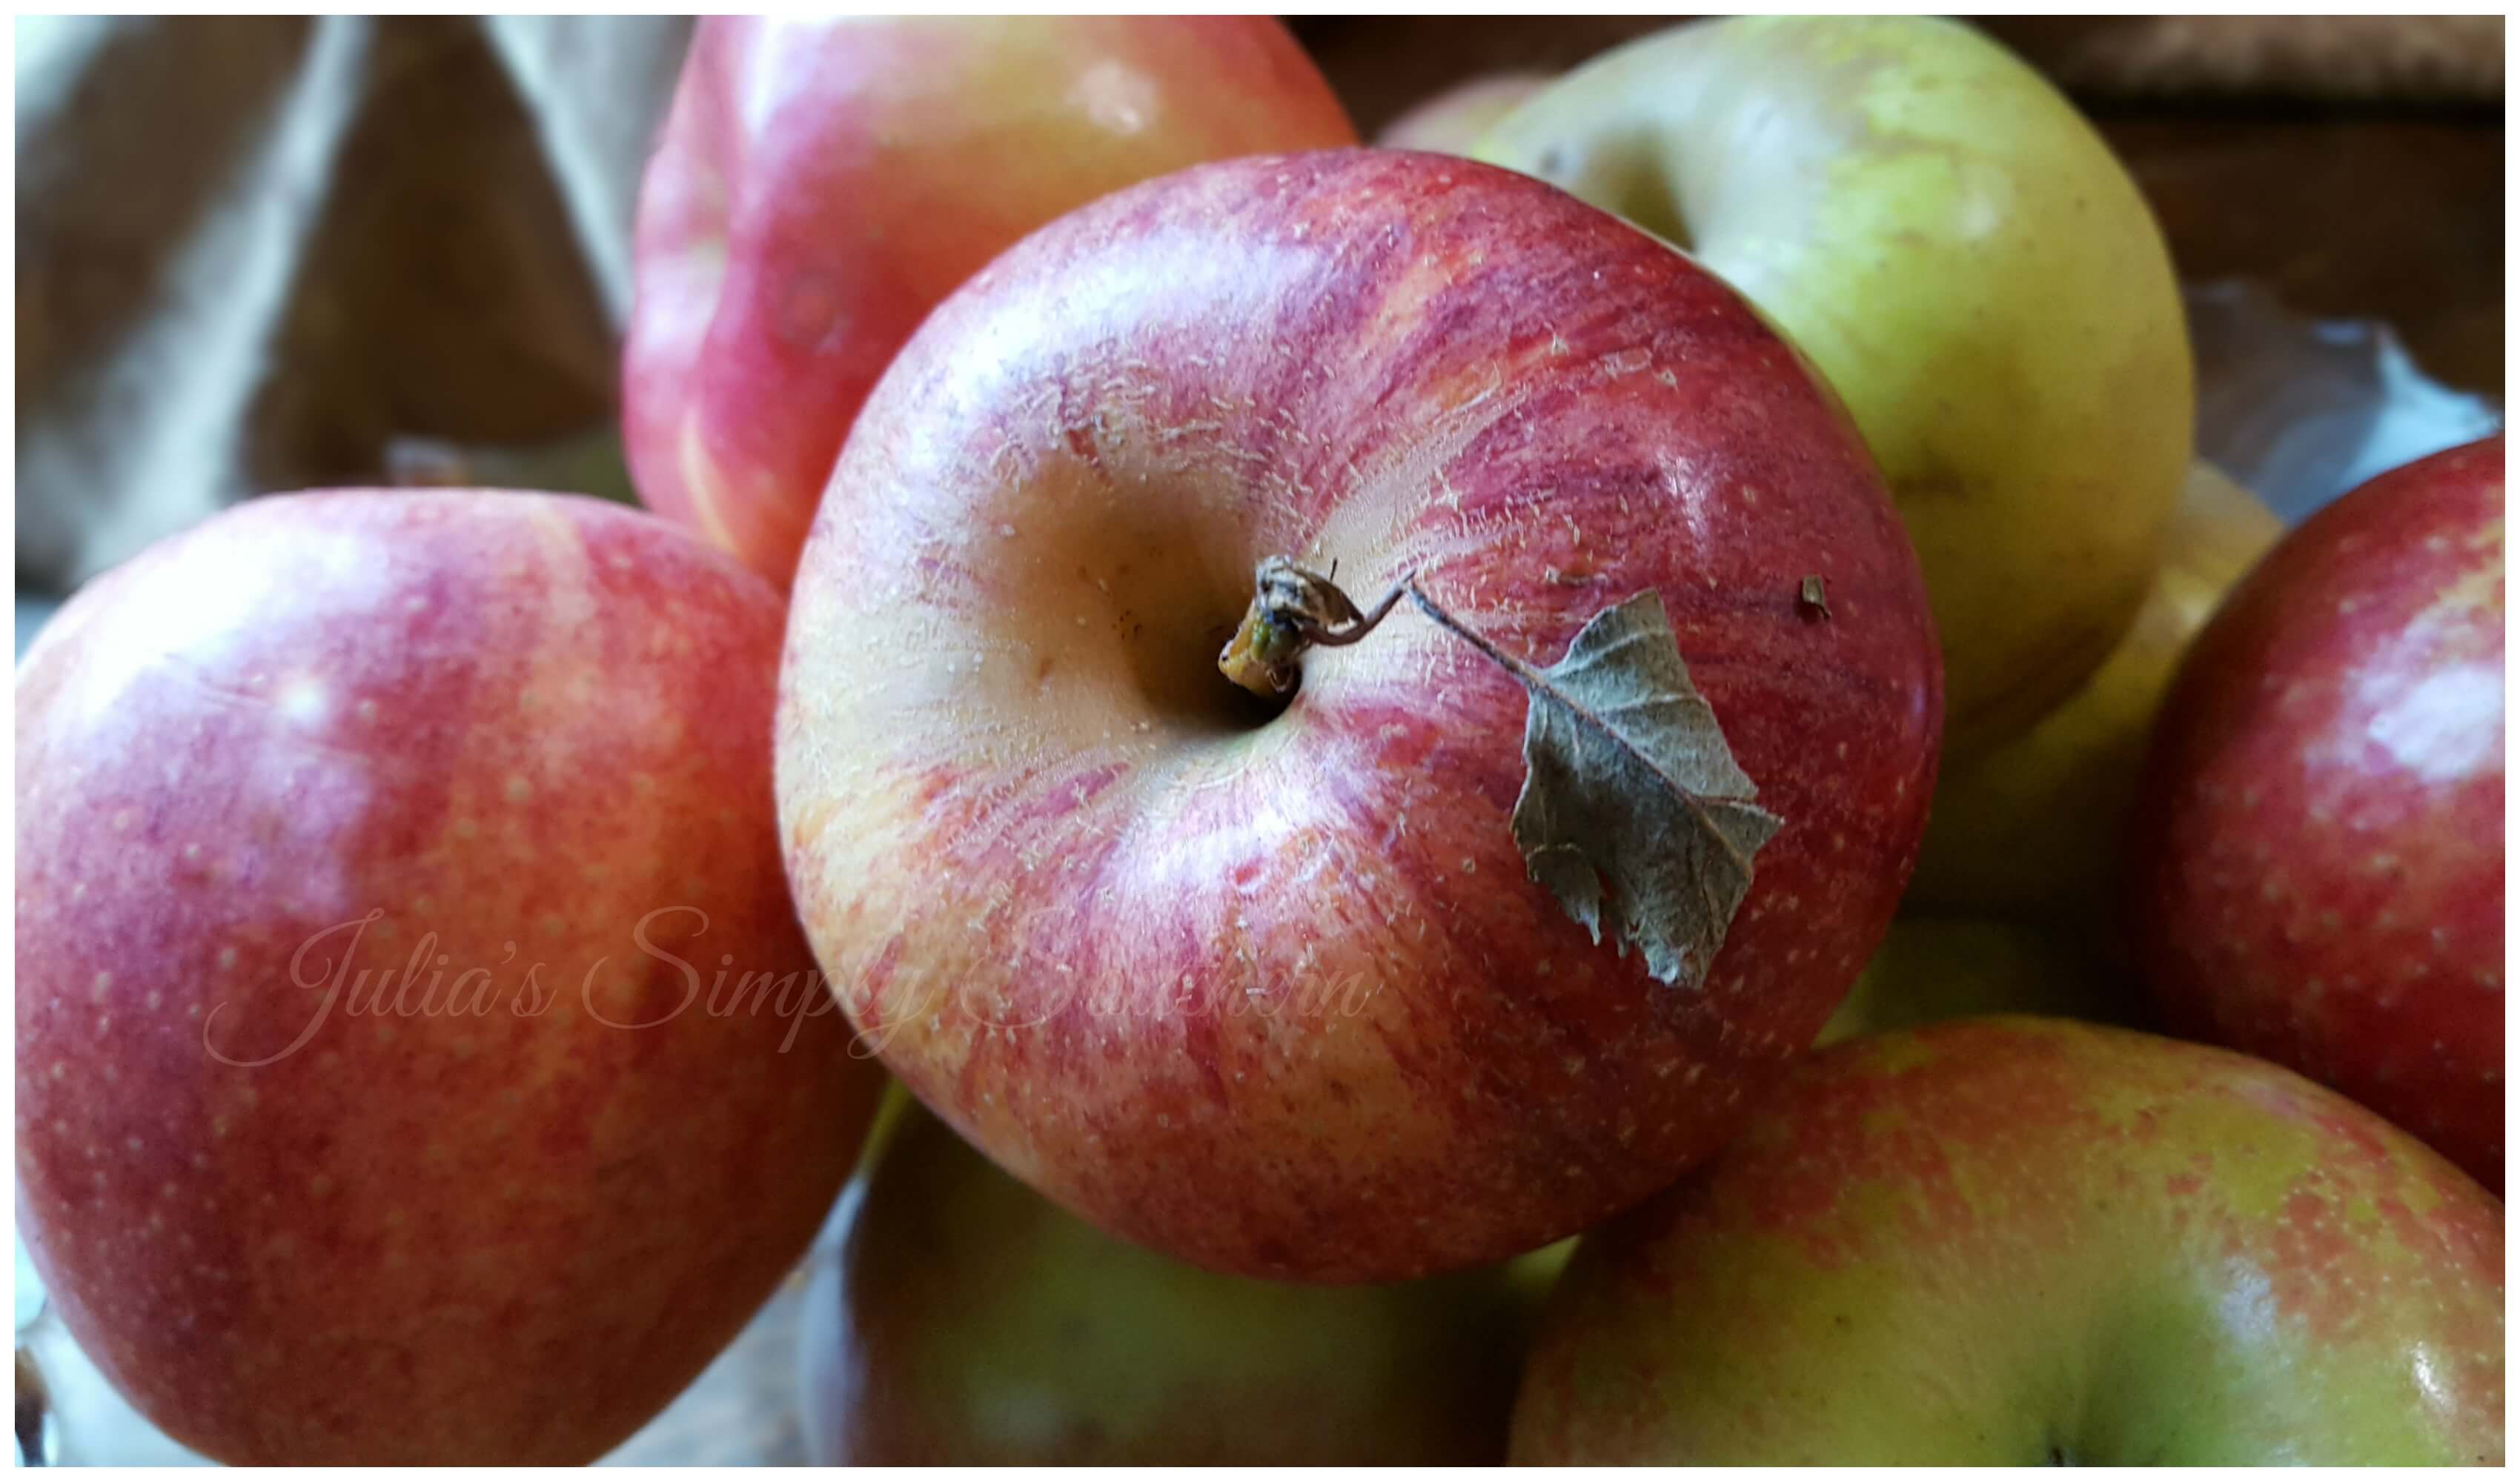
A touch of fall is in the air. In the South, that means apple season. The stifling humidity has lessened a great deal, so a trip to the apple orchard is really pleasant. You can’t beat fresh local apples this time of year!
Traditional Apple Butter Recipe

One of my favorite autumn recipes to prepare is Country Apple Butter. Cooked the old fashioned way right on the stove top. I know it is popular these days to make this recipe in a slow cooker, which is perfectly fine.
The stove top method is just my preferred way because it’s quick and easy. The process is all done in just two hours.
The wonderful aromas fill the house as the apple butter cooks. I’ve always loved apple butter. It’s great on biscuits, toast, as a dipping sauce, and compliments pork beautifully.
Can you imagine the reaction when serving the beloved favorite appetizer, sausage balls, with a dip option of homemade apple butter? It’s a special touch people may not expect, but will surely love.
Country Apple Butter Recipe
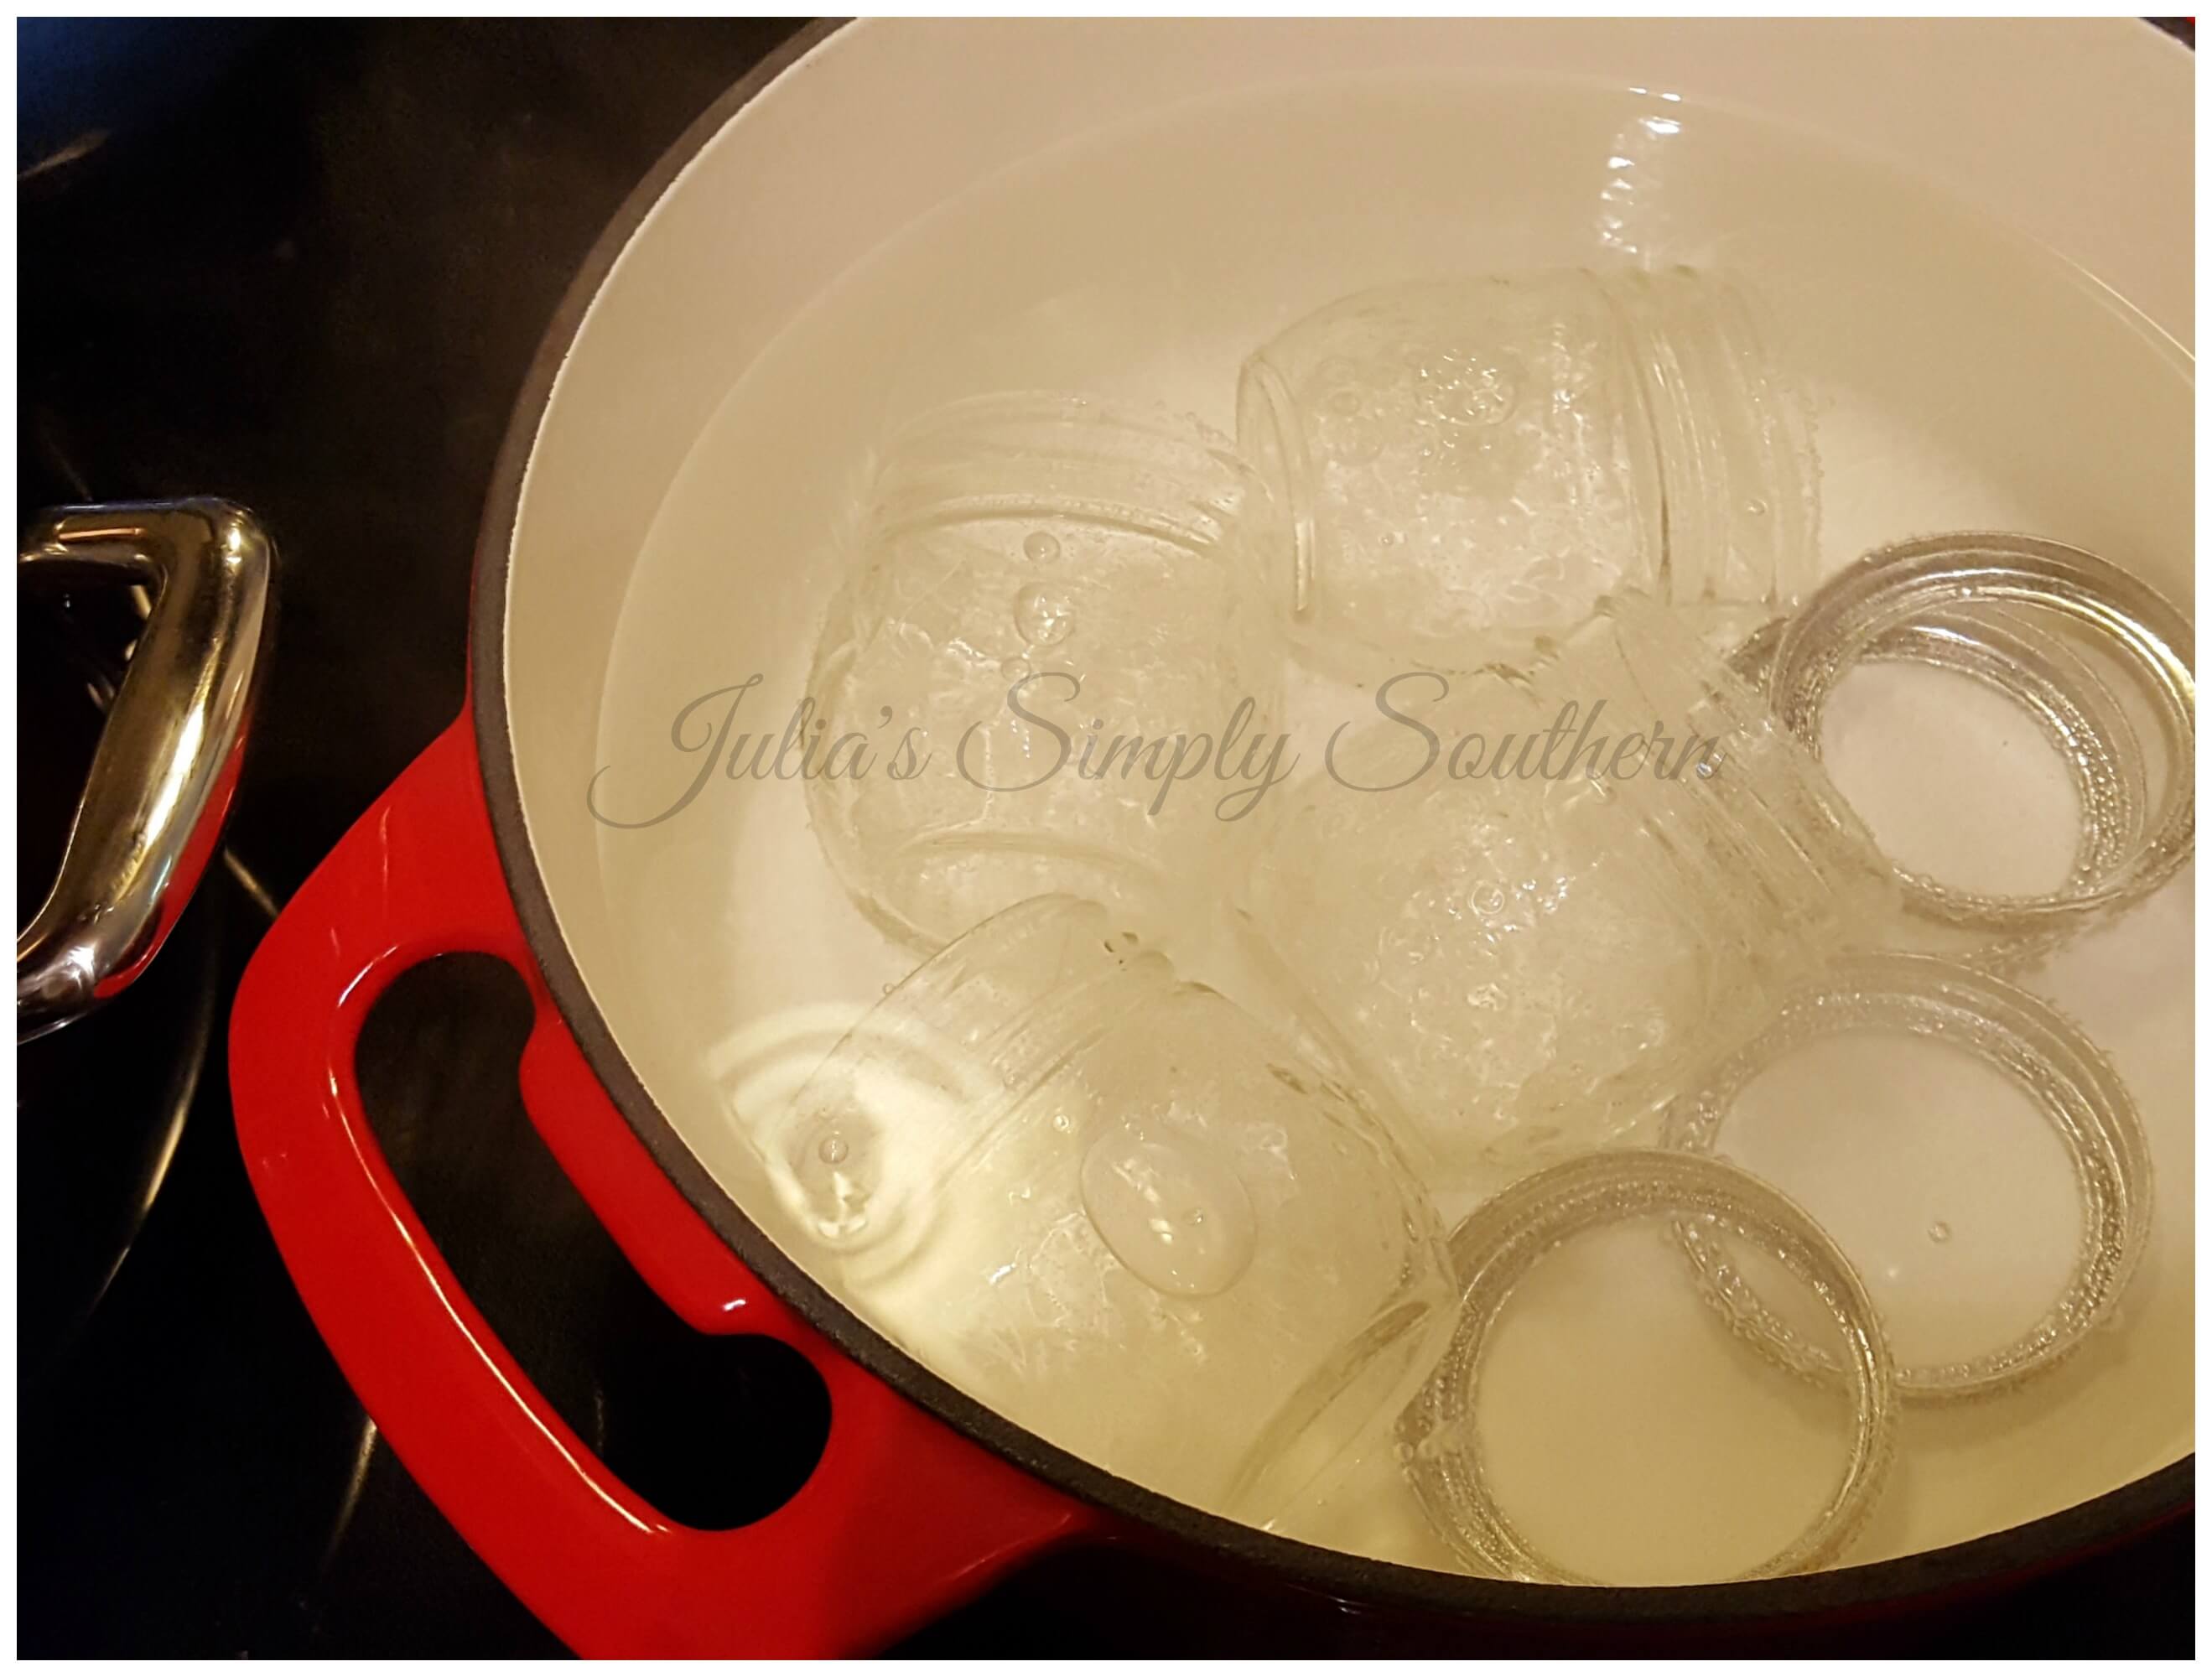
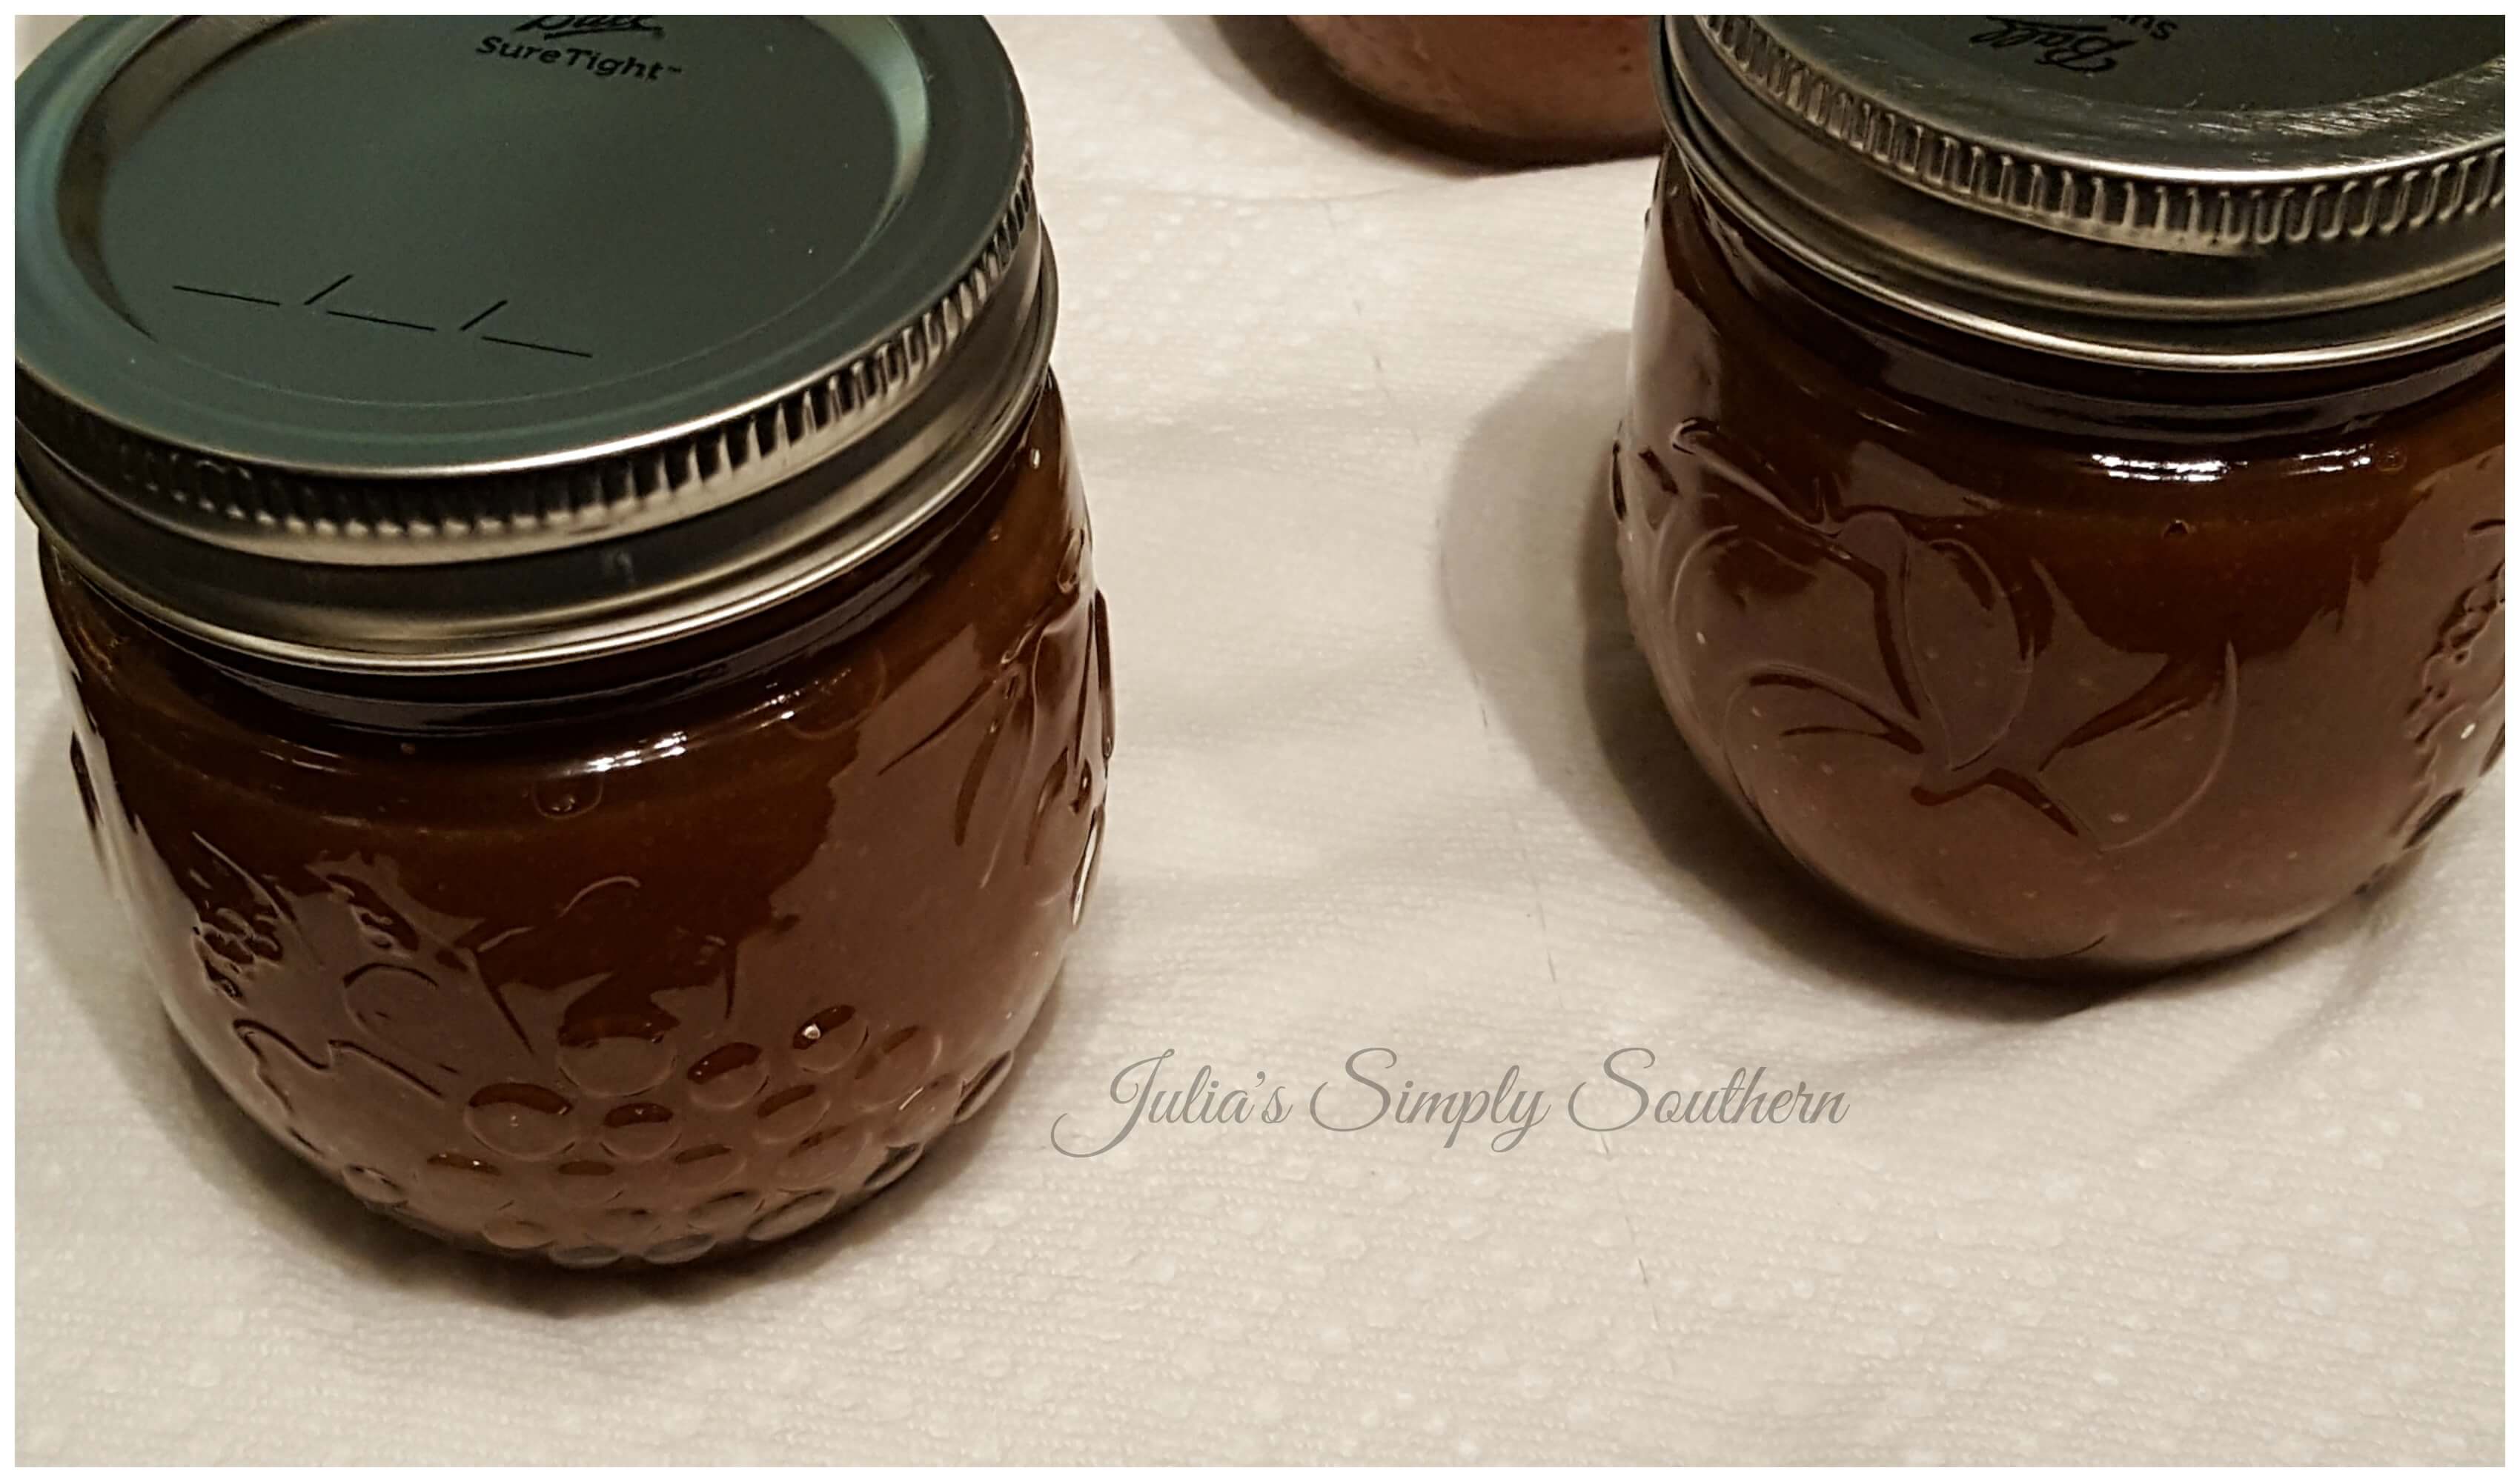
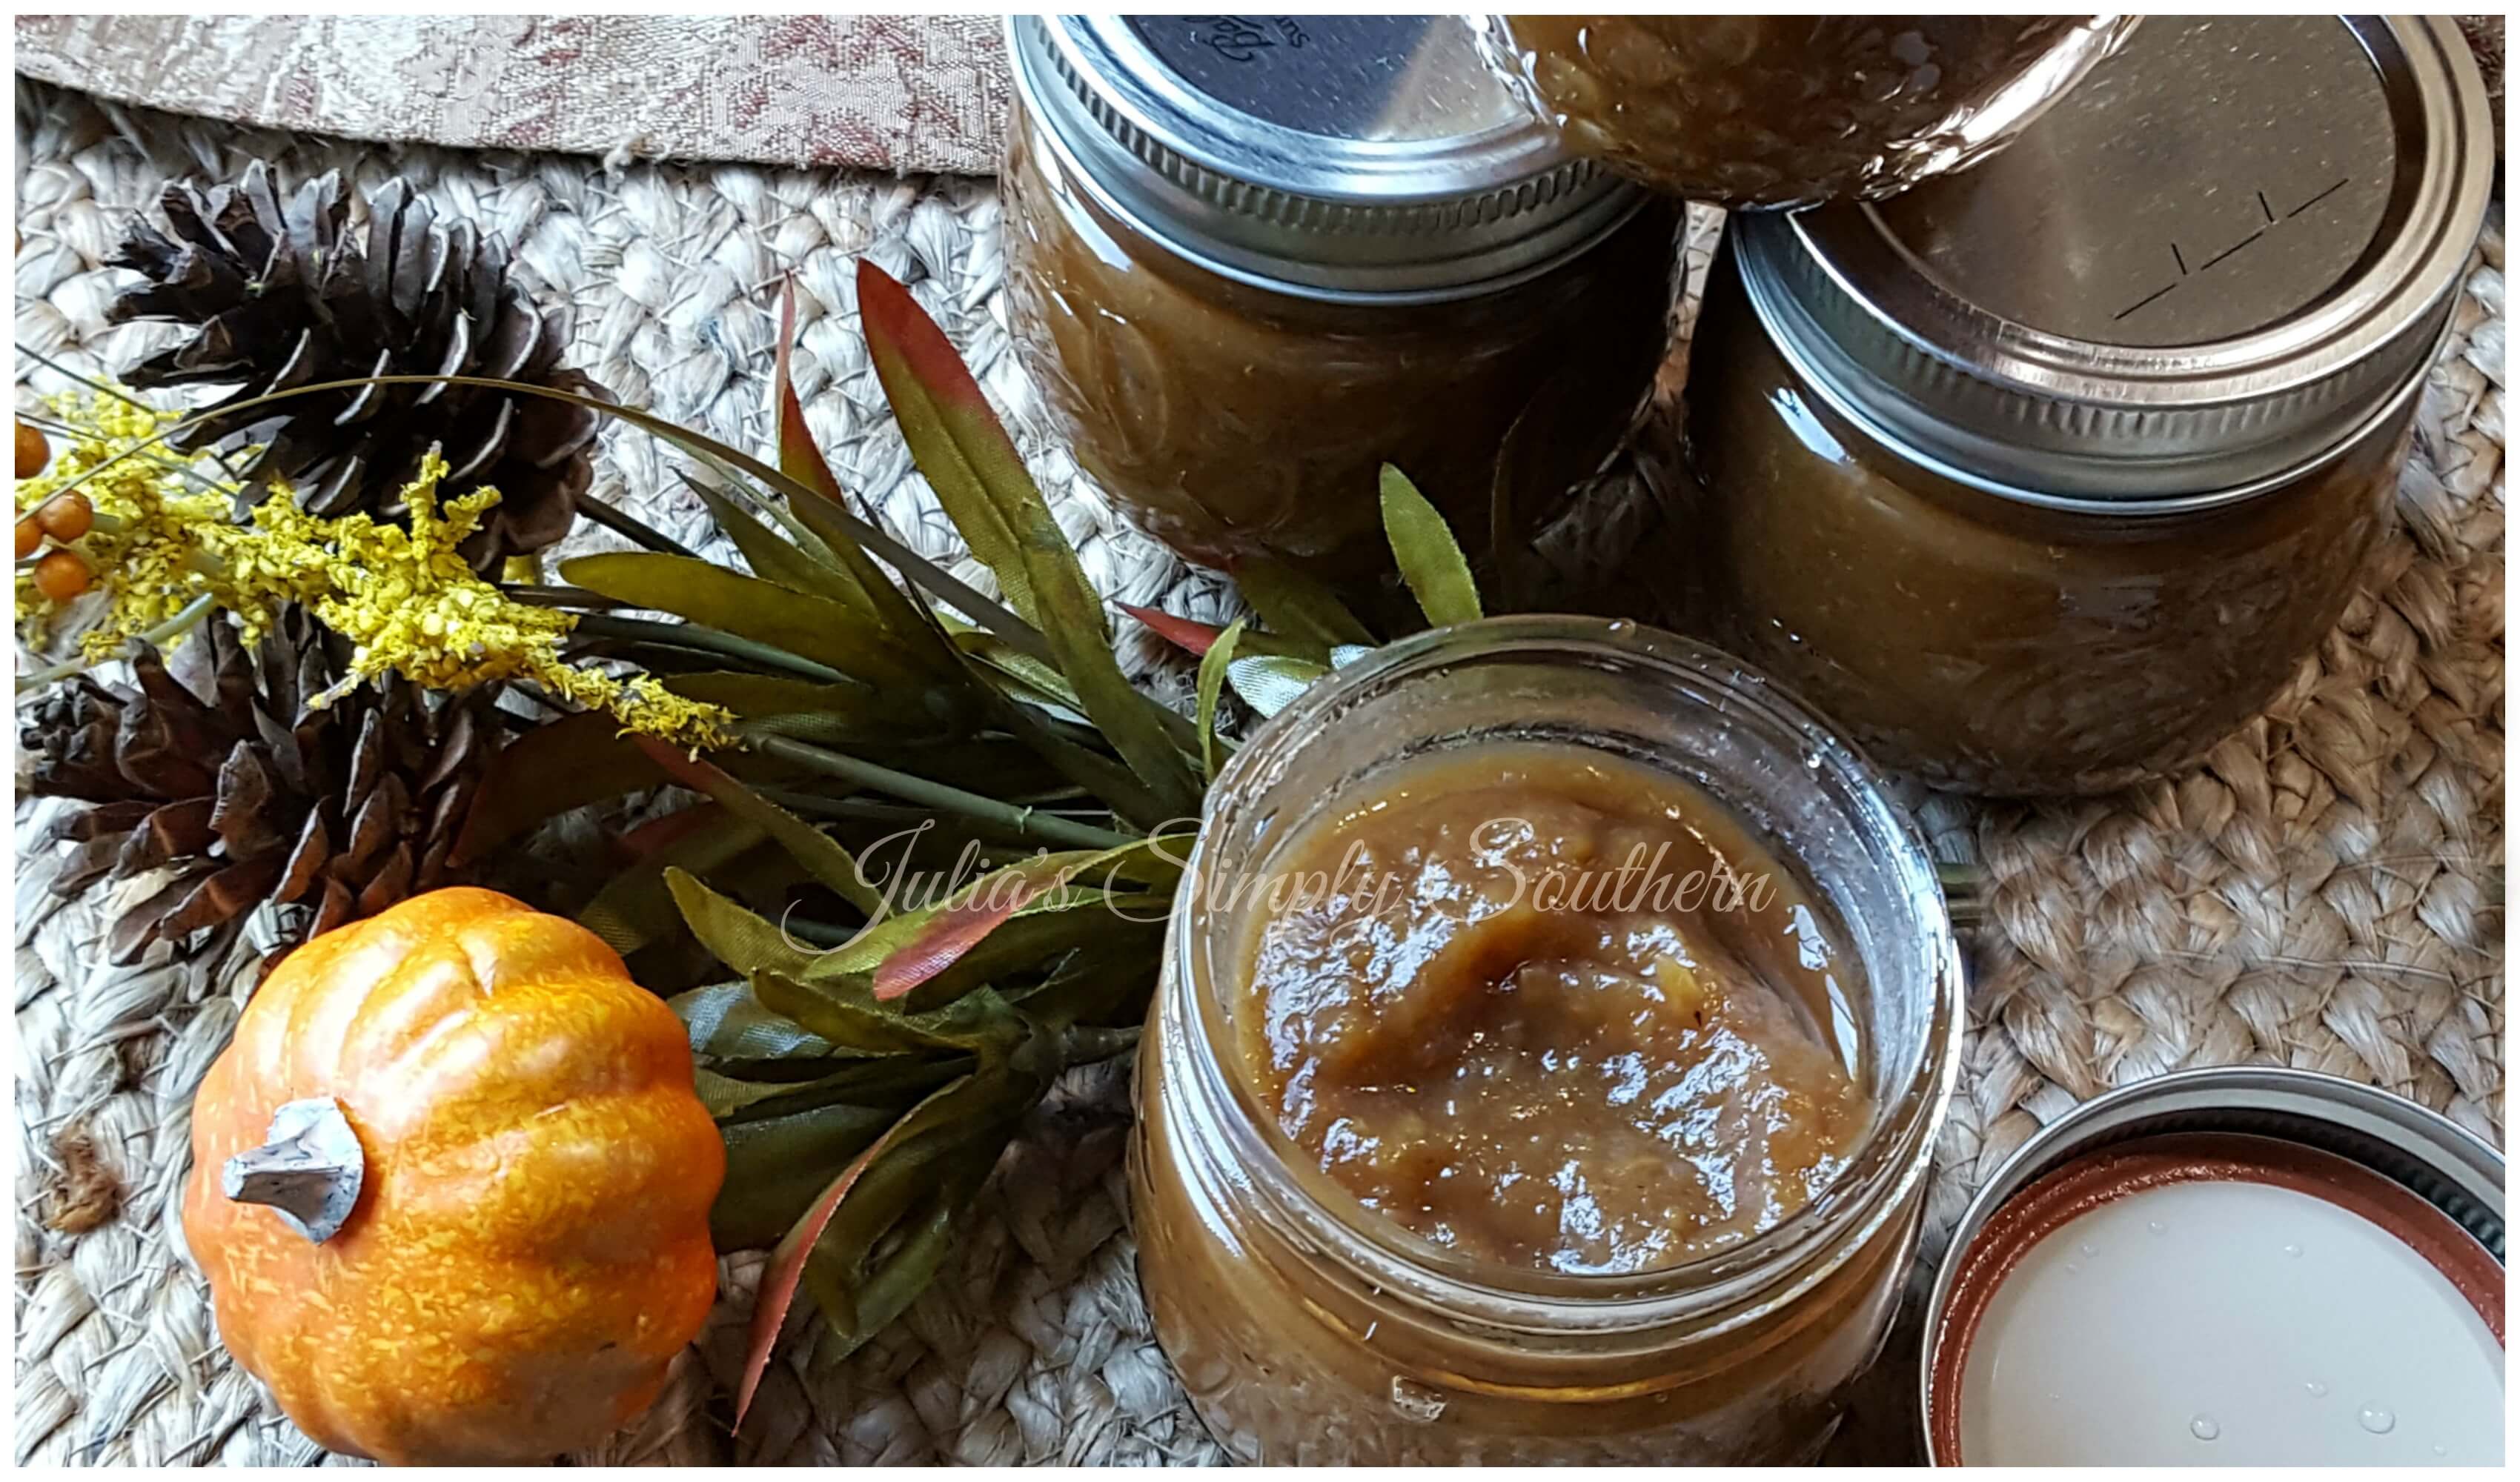
This recipe is great to preserve using the water bath canning method also. While the canning method is optional, it will give you a longer shelf life. If you choose not to can your apple butter, it can be refrigerated for up to a month.
- Fresh Local Apples (around a dozen apples)
- Apple Cider Vinegar
- Pure Apple Juice (no additives)
- Dark Brown Sugar
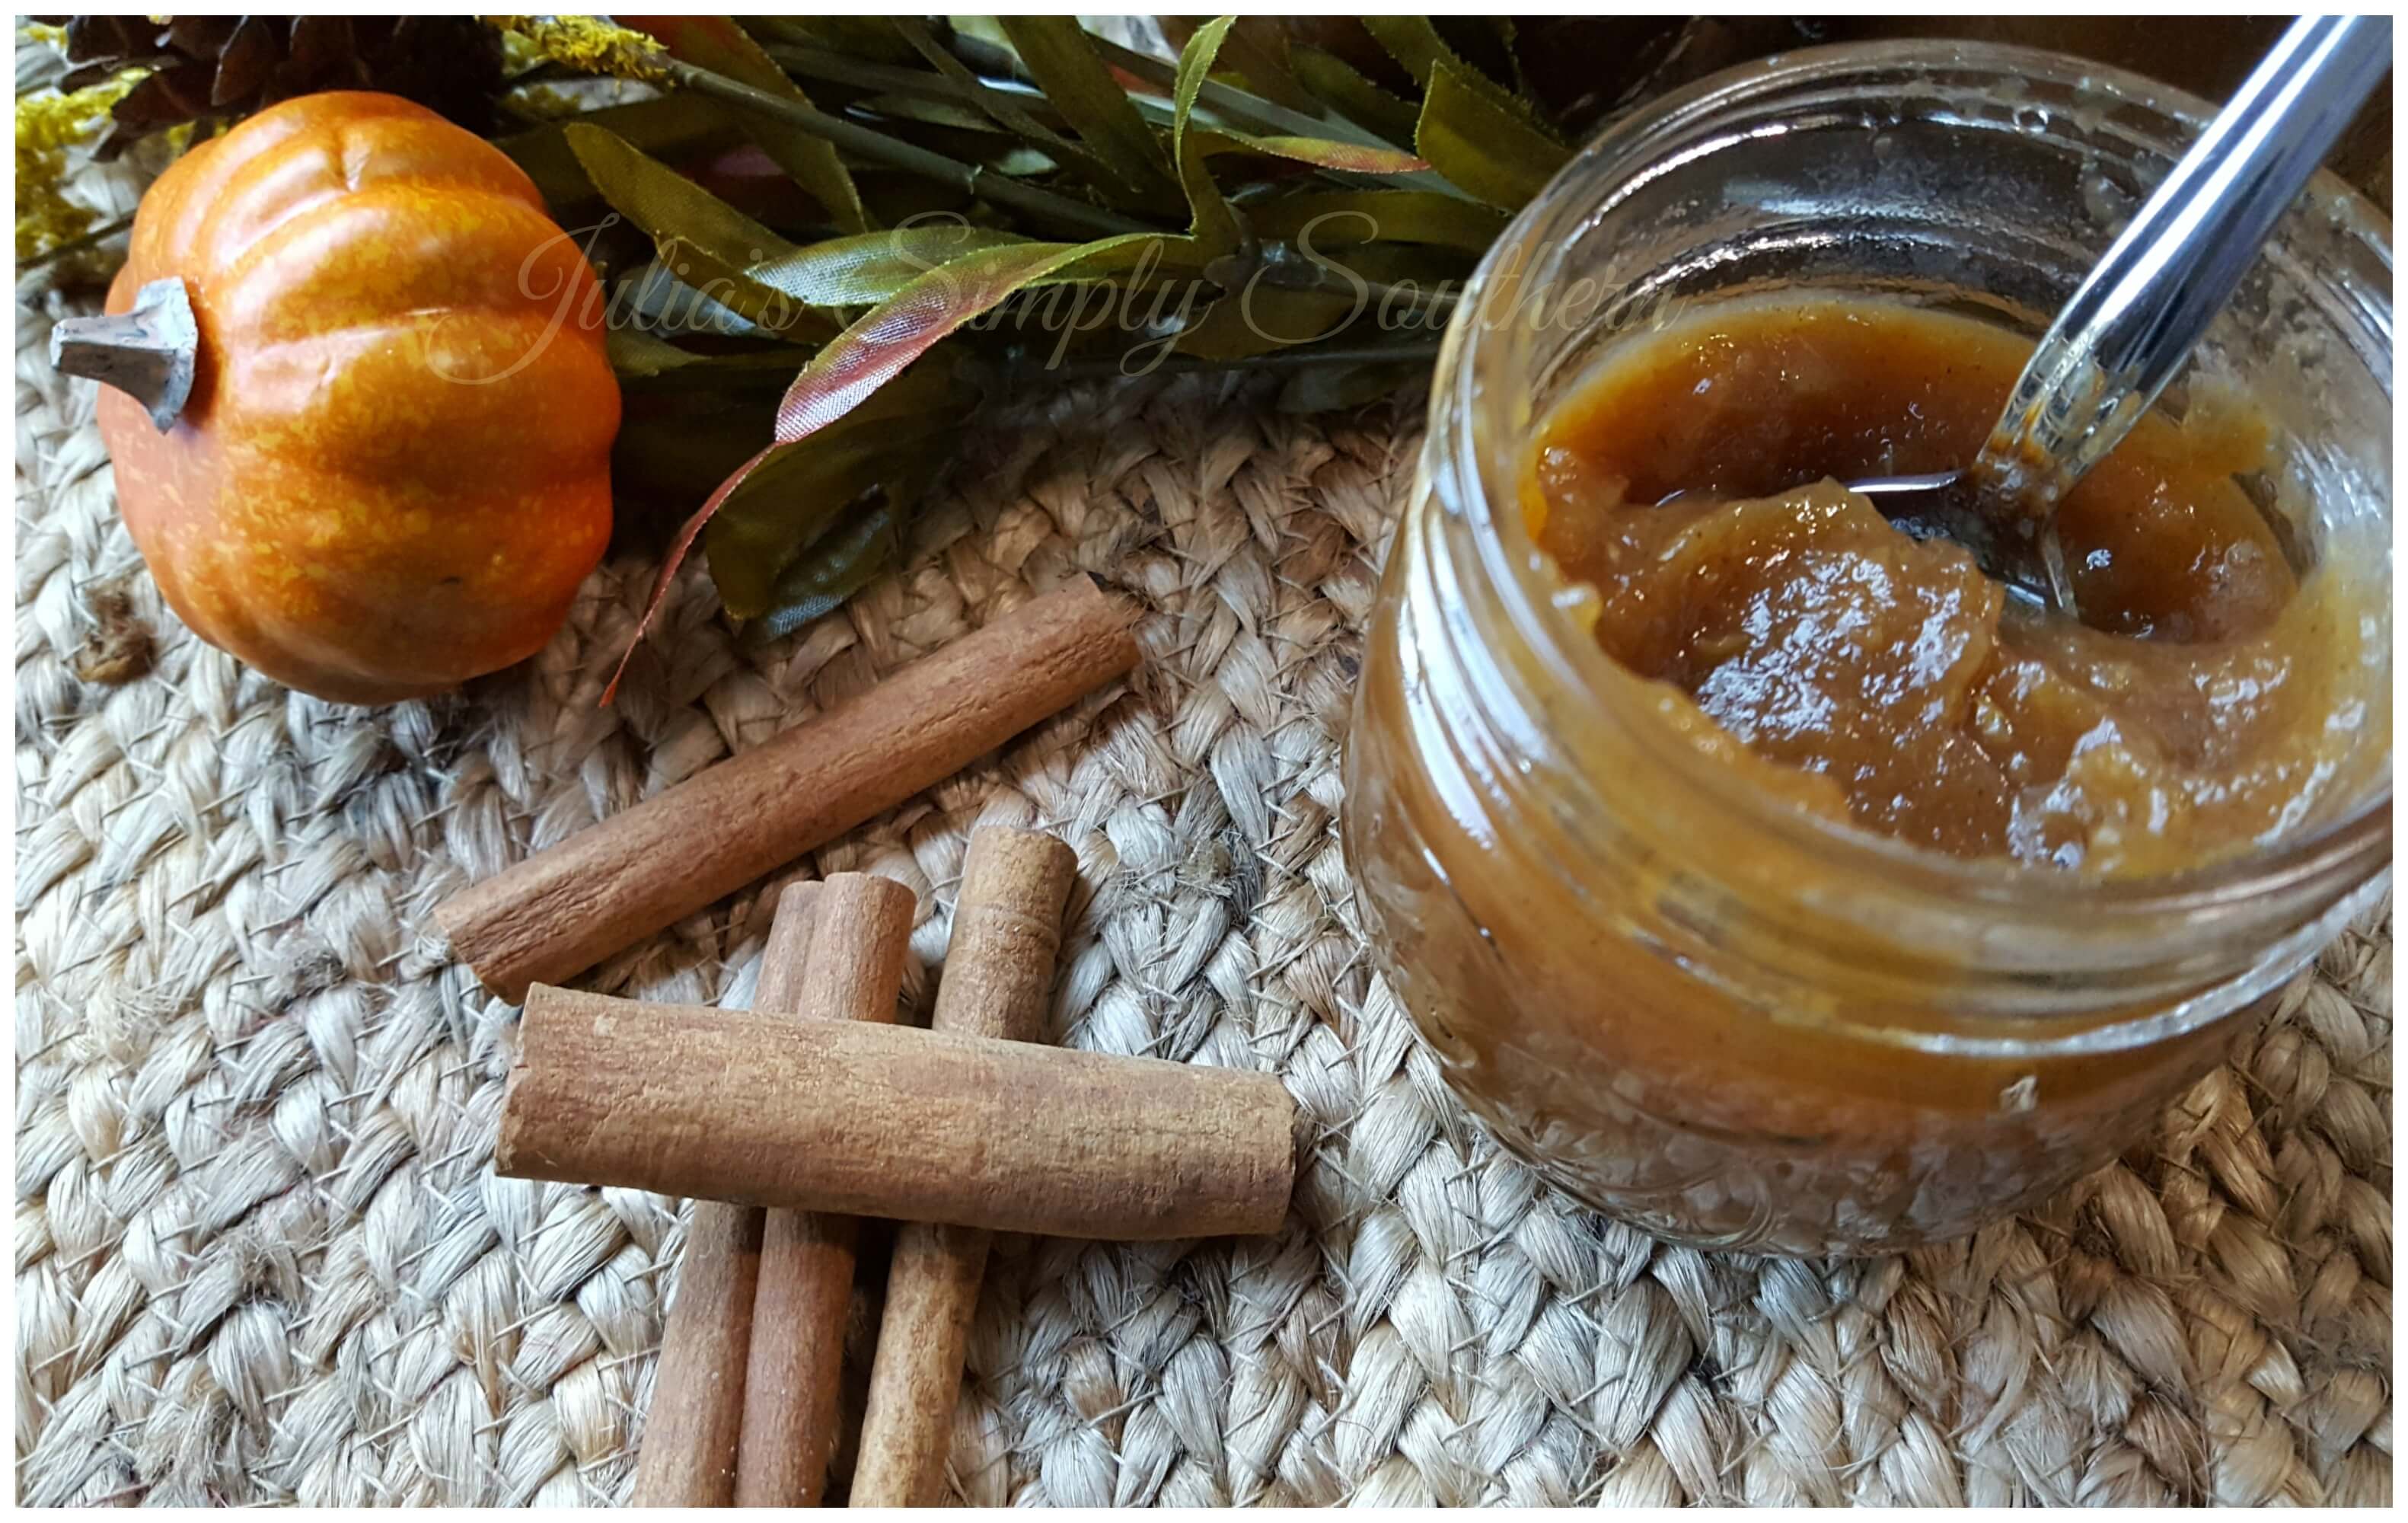
- Cinnamon (heaping teaspoon)
- Nutmeg (ground or freshly grated)
- Ground Cloves
- Pinch Kosher Salt
- 6 to 8 – 8 oz Jam Jars with rings and lids
Stove Top Method
Autumn Apple Butter Recipe

Autumn Apple Season Recipe
Country Apple Butter
Ingredients
- 5 lbs Fresh Local Apples around a dozen apples
- 1/2 c Apple Cider Vinegar
- 1/2 c Pure Apple Juice no additives
- 1.5 c Dark Brown Sugar
- 1 tsp Ground Cinnamon heaping teaspoon
- 1/4 tsp Ground Nutmeg fresh grated is fine too
- 1/4 tsp Ground Cloves
- Pinch Kosher Salt
Instructions
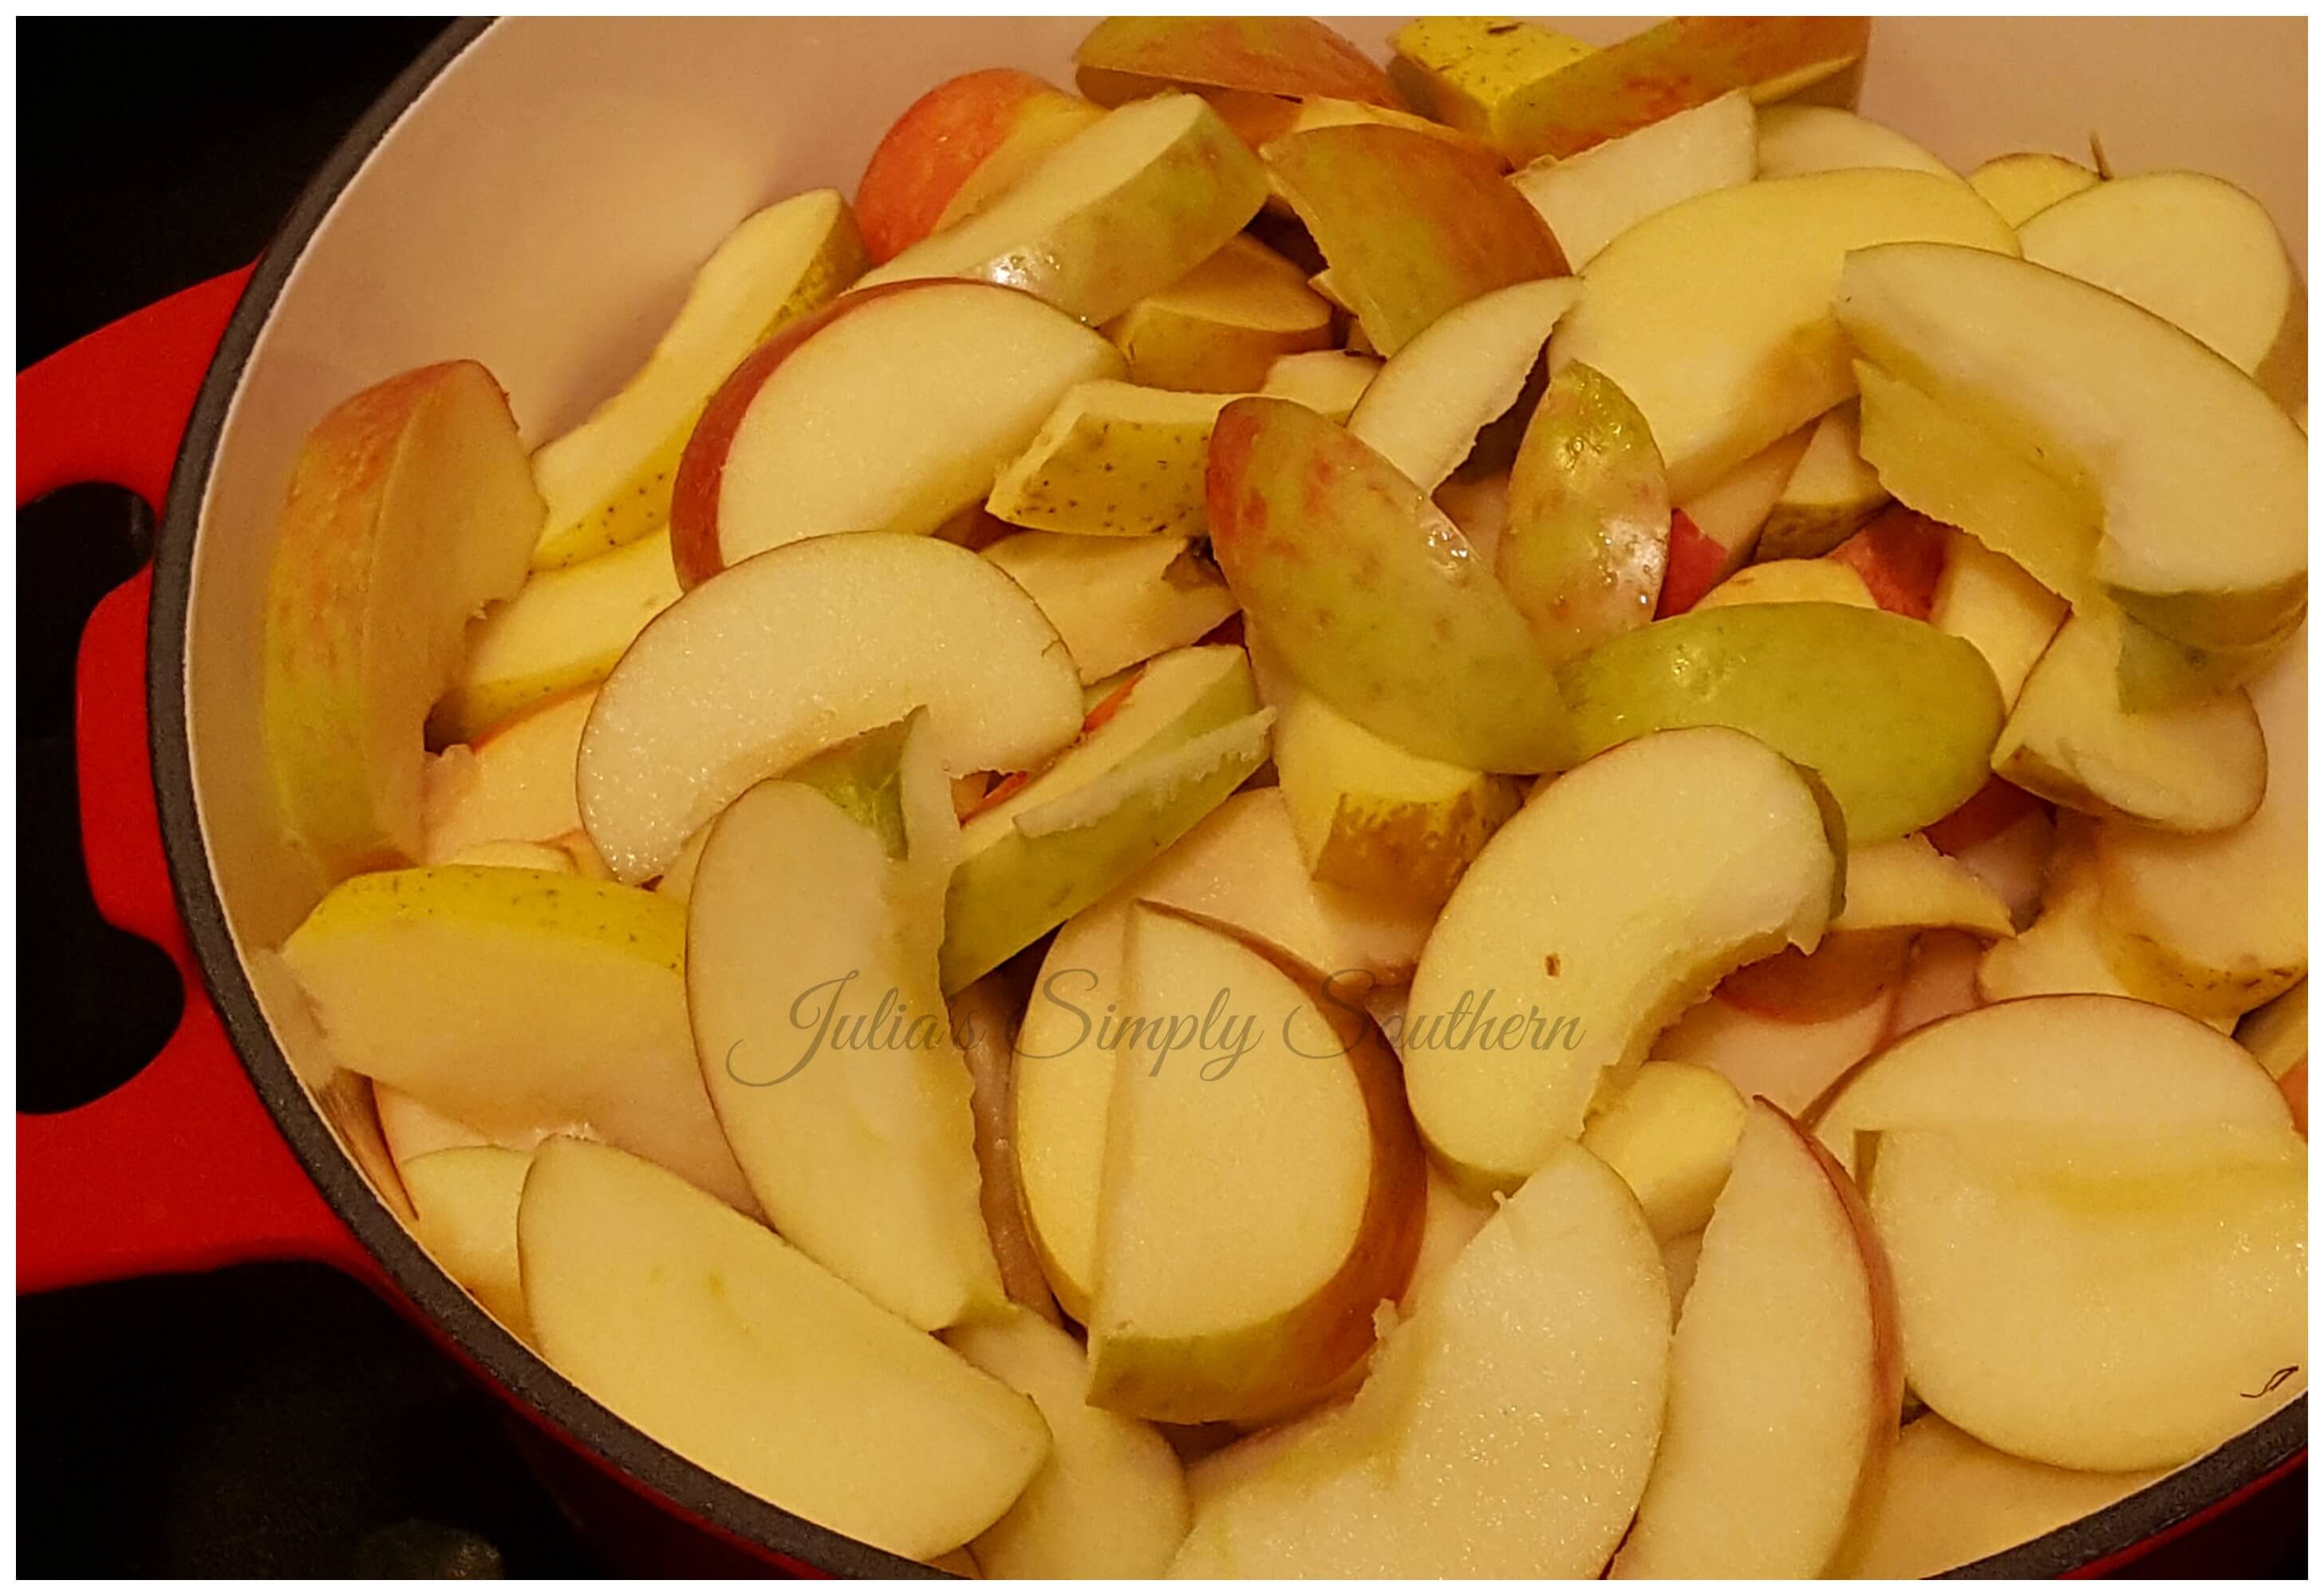
- You’ll need a 7 quart dutch oven or large soup pot to prepare this recipe on the stove top.
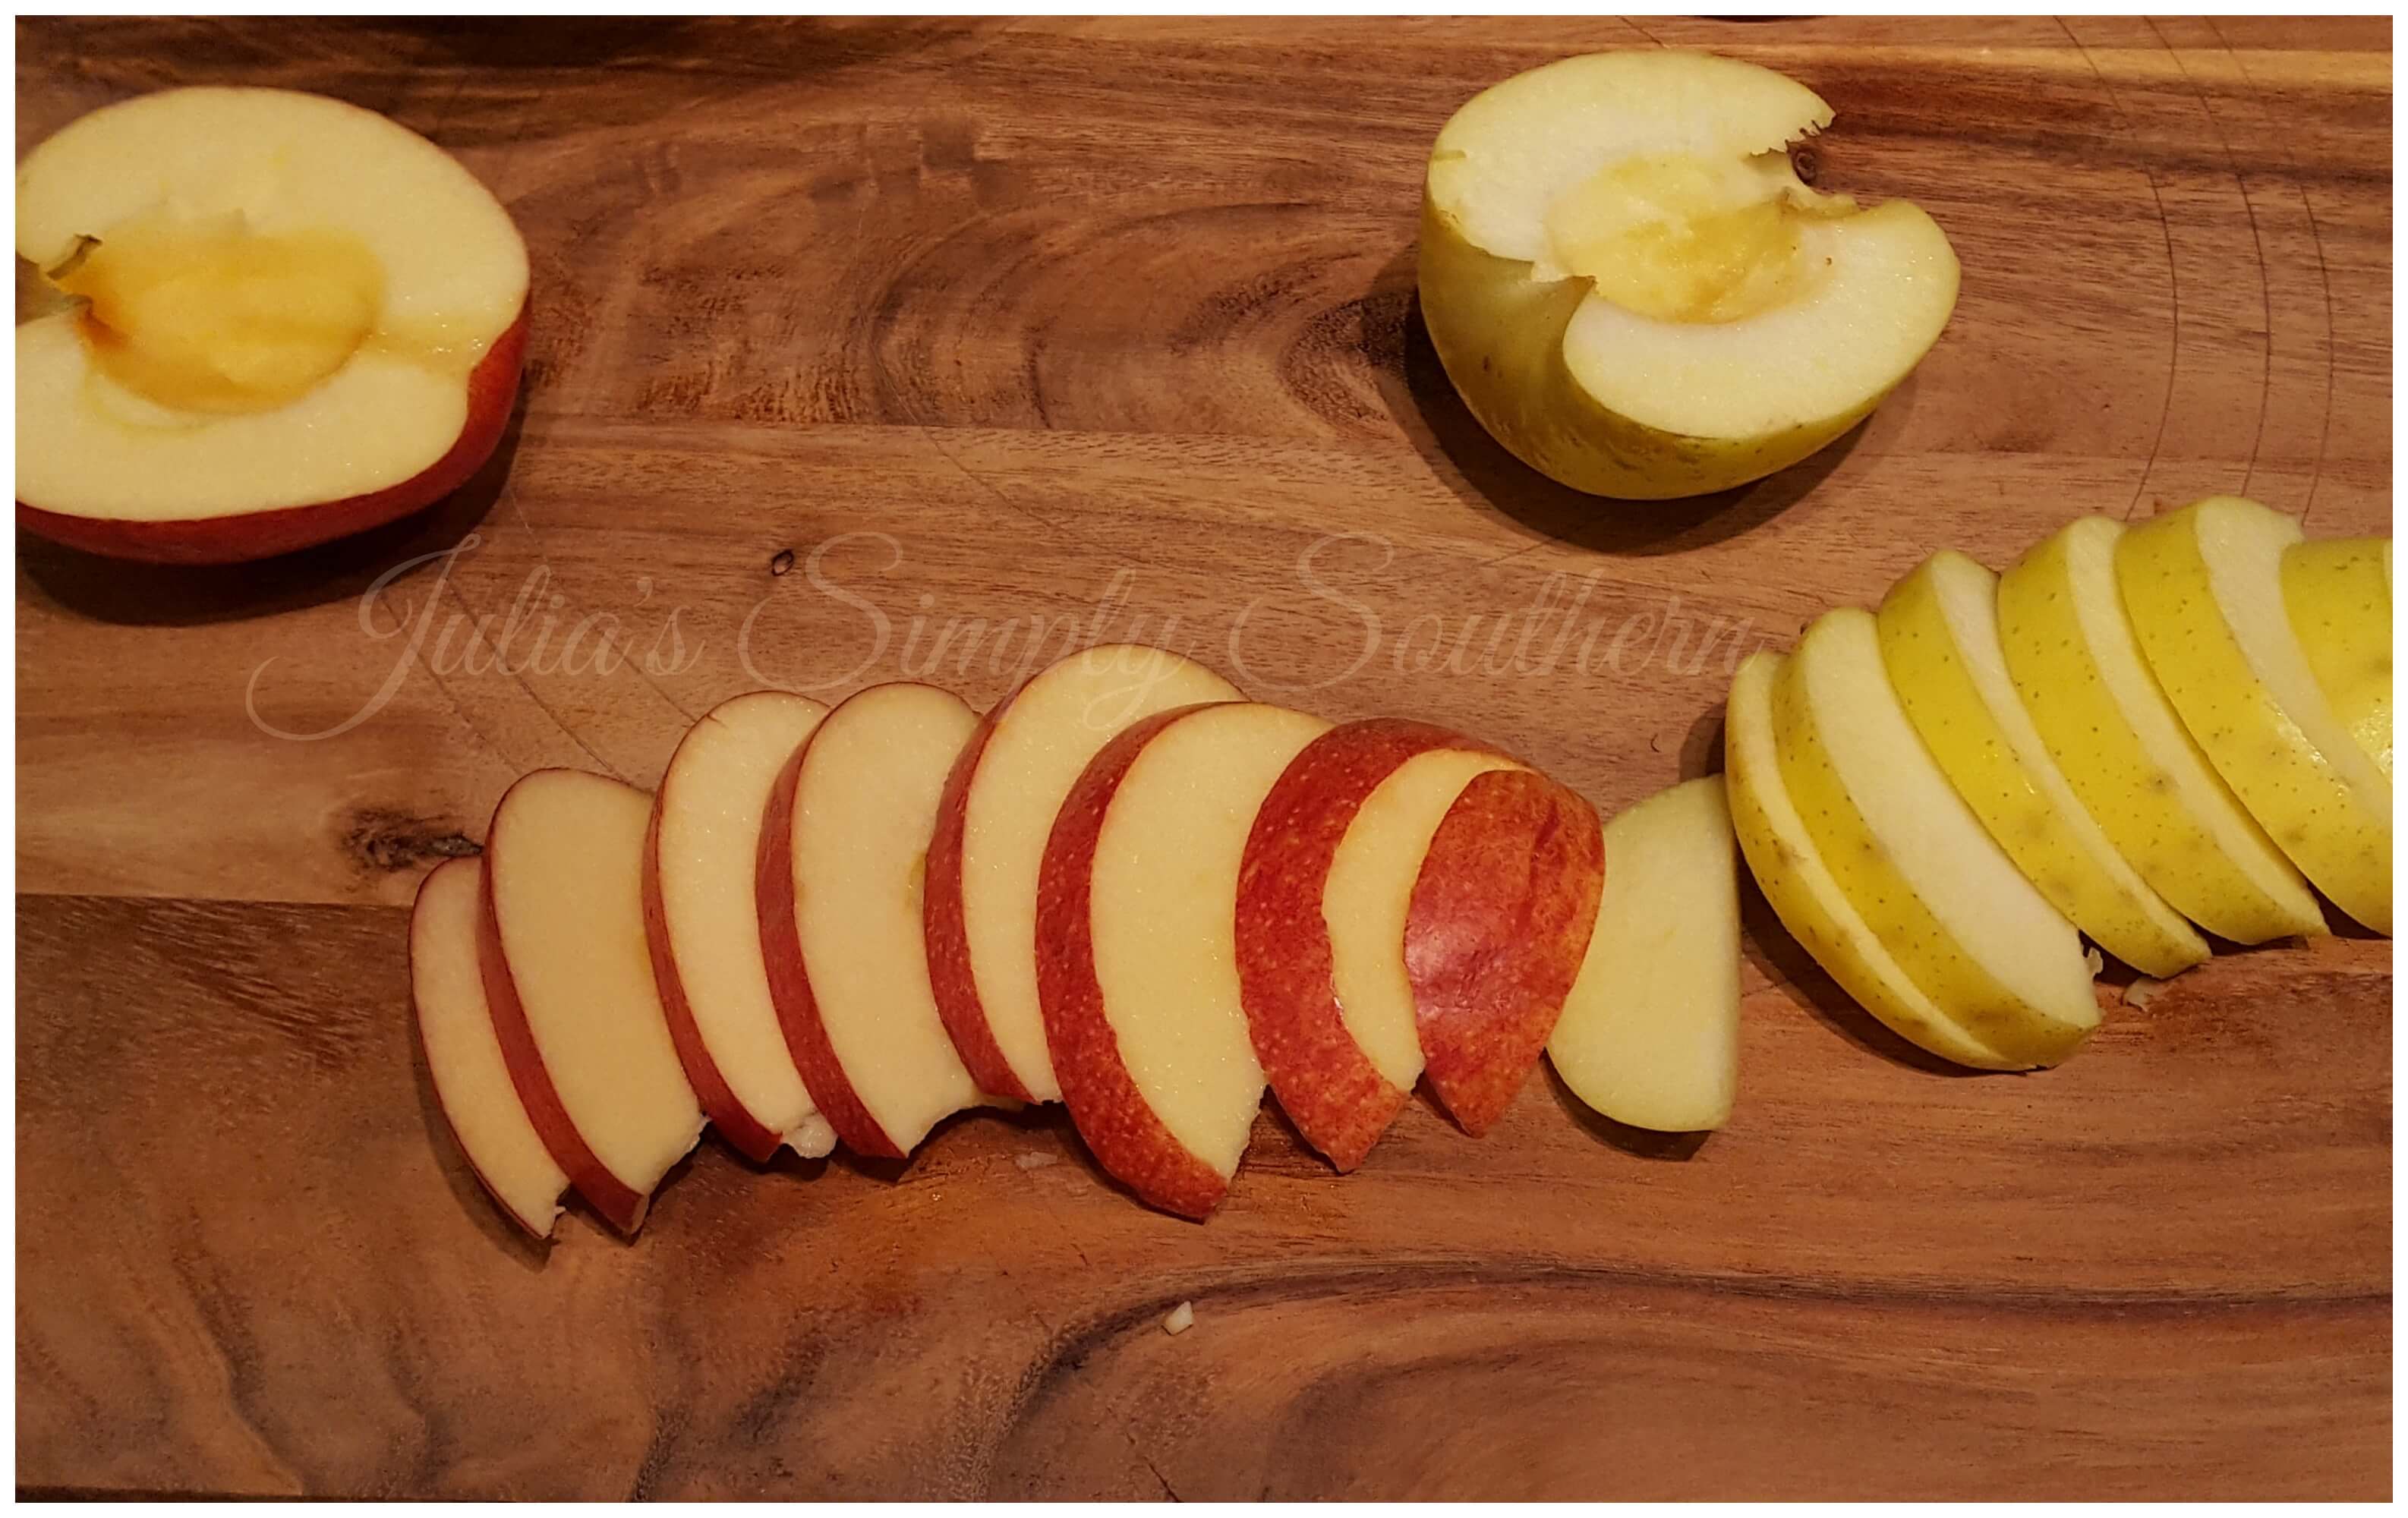
- Start by cutting the apple in half and remove the core and any stems. I use a mix of different different apples that I favor for apple butter. There is no need to peel the apples for this recipe. The peels add lots of flavor. You’ll never know they’re in there later on.
- Add the apple slices to the cooking pot.
- Add the apple cider vinegar and apple juice.
- Cover and cook over medium high heat for half an hour. The apples will cook down and soften quite a bit.
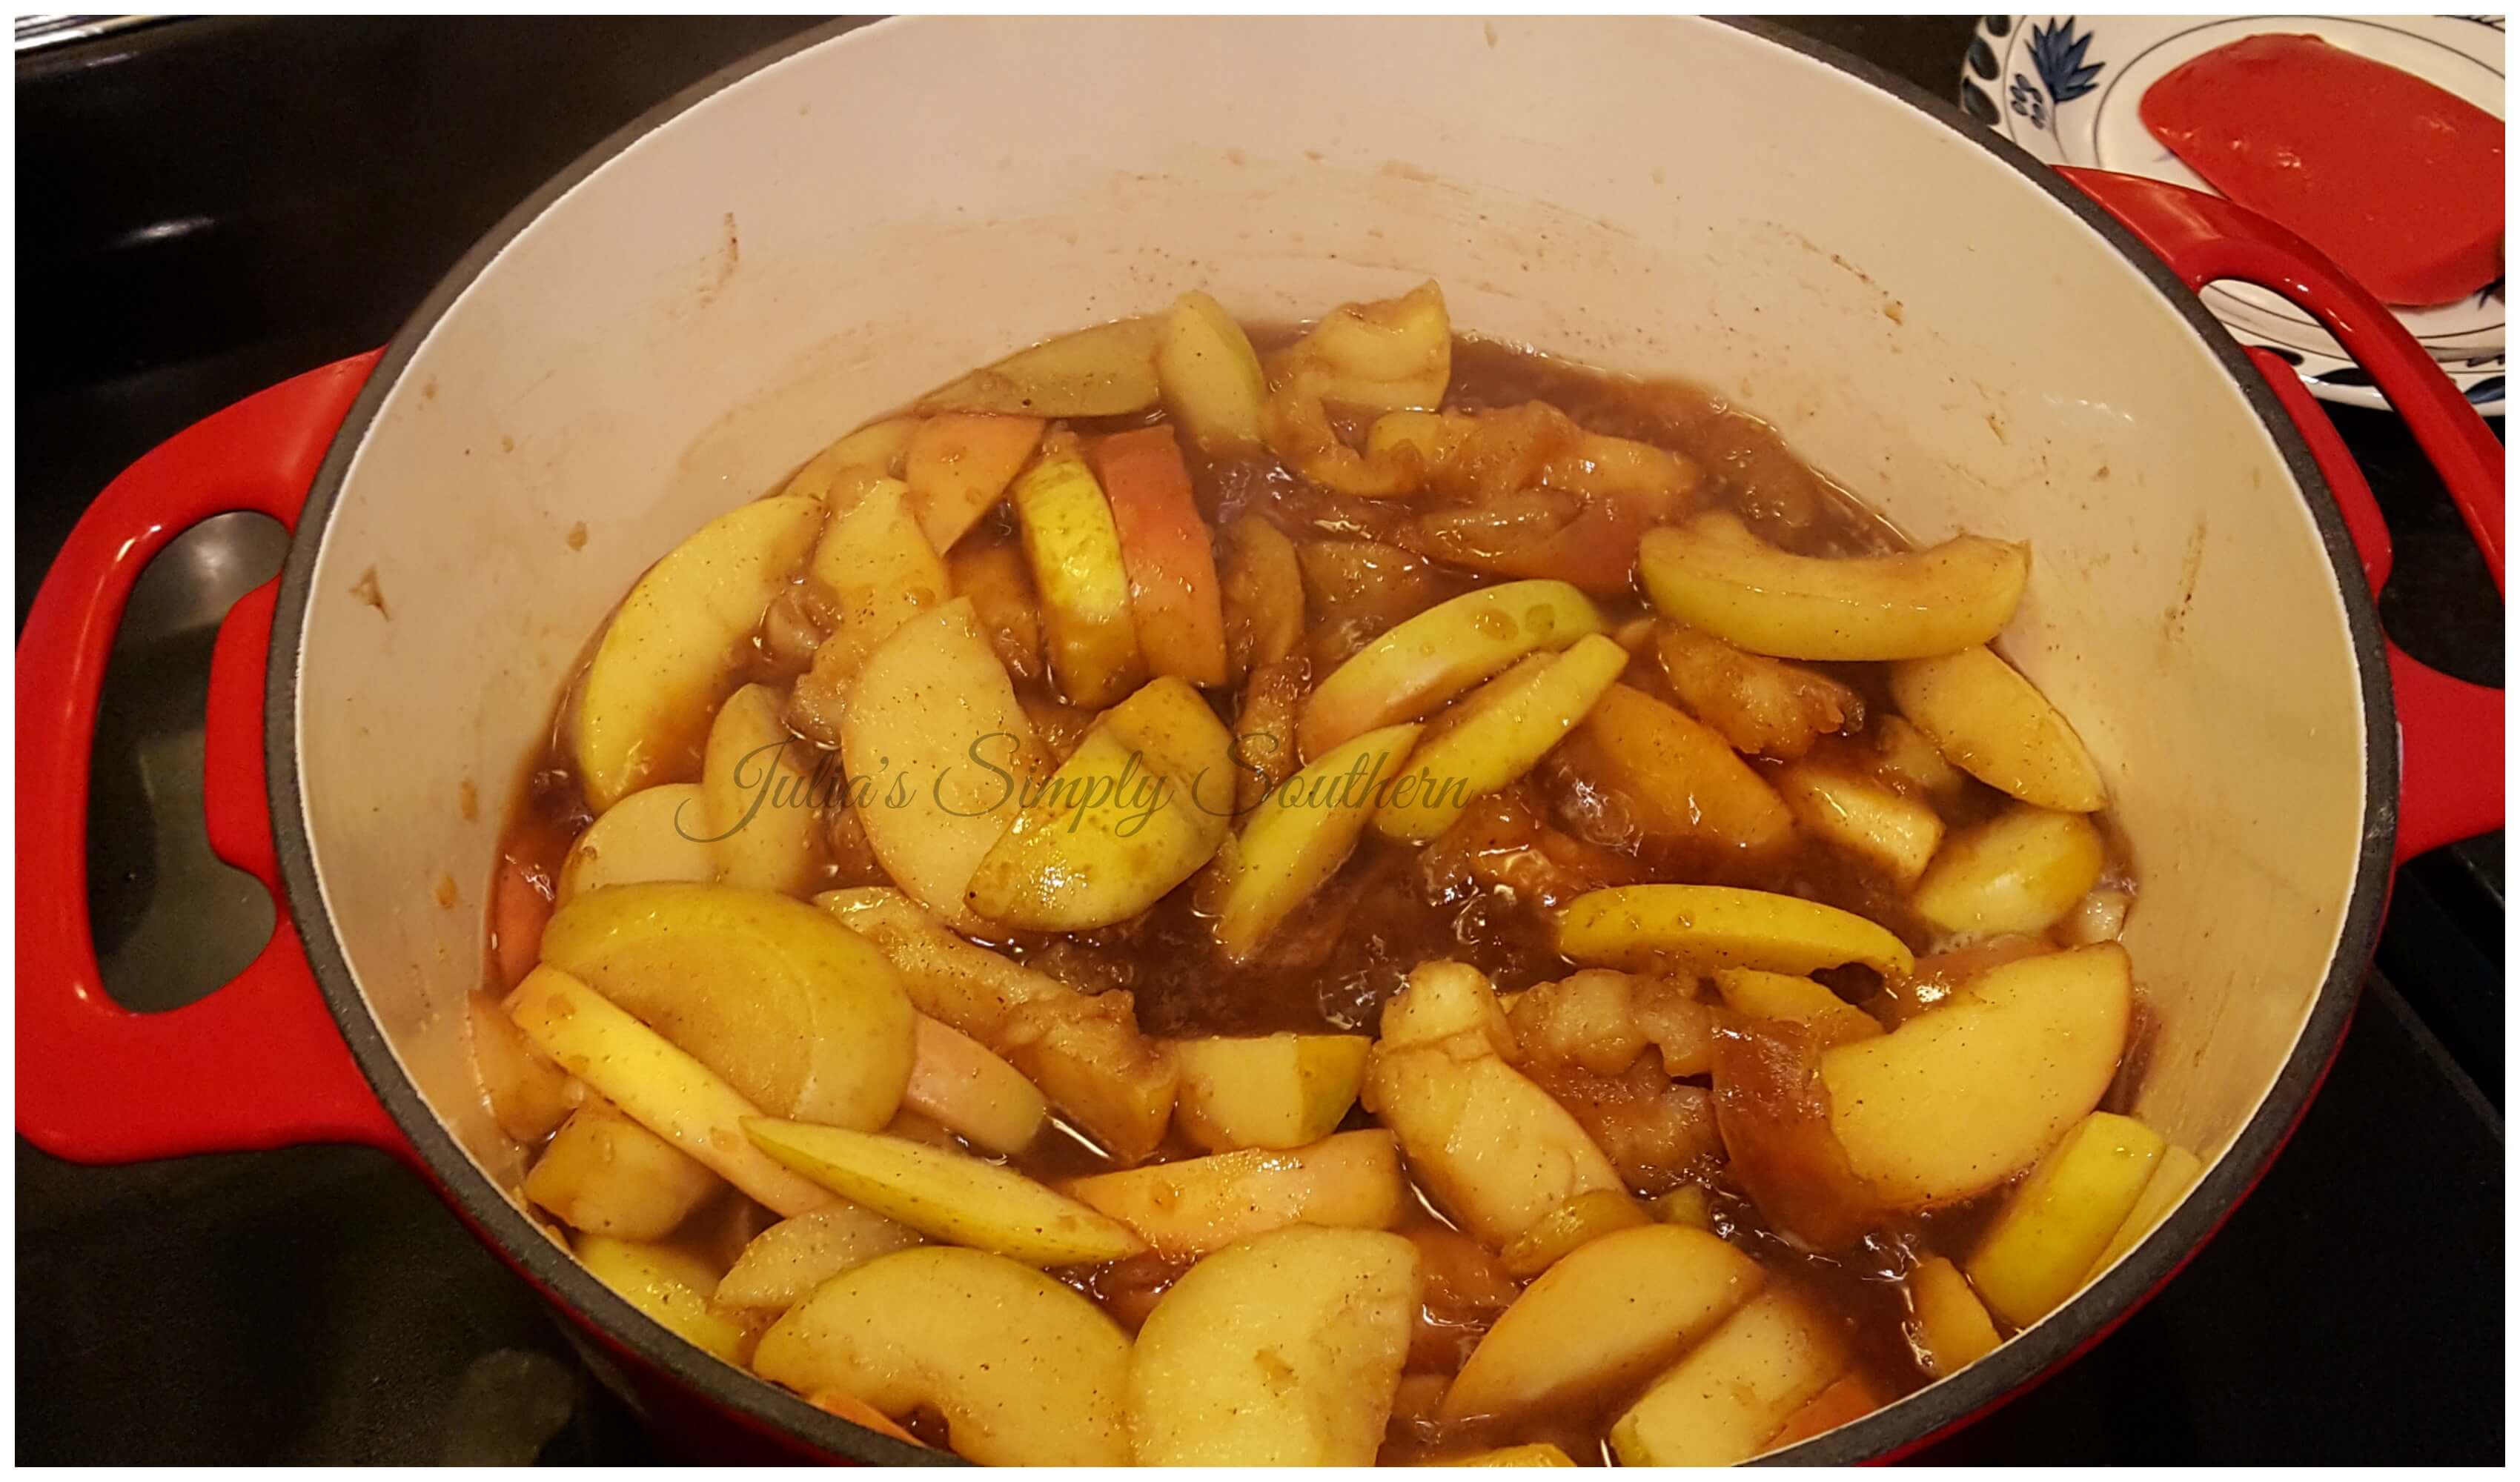
- After 30 minutes remove the lid and add the brown sugar and spices. Stir to combine everything.
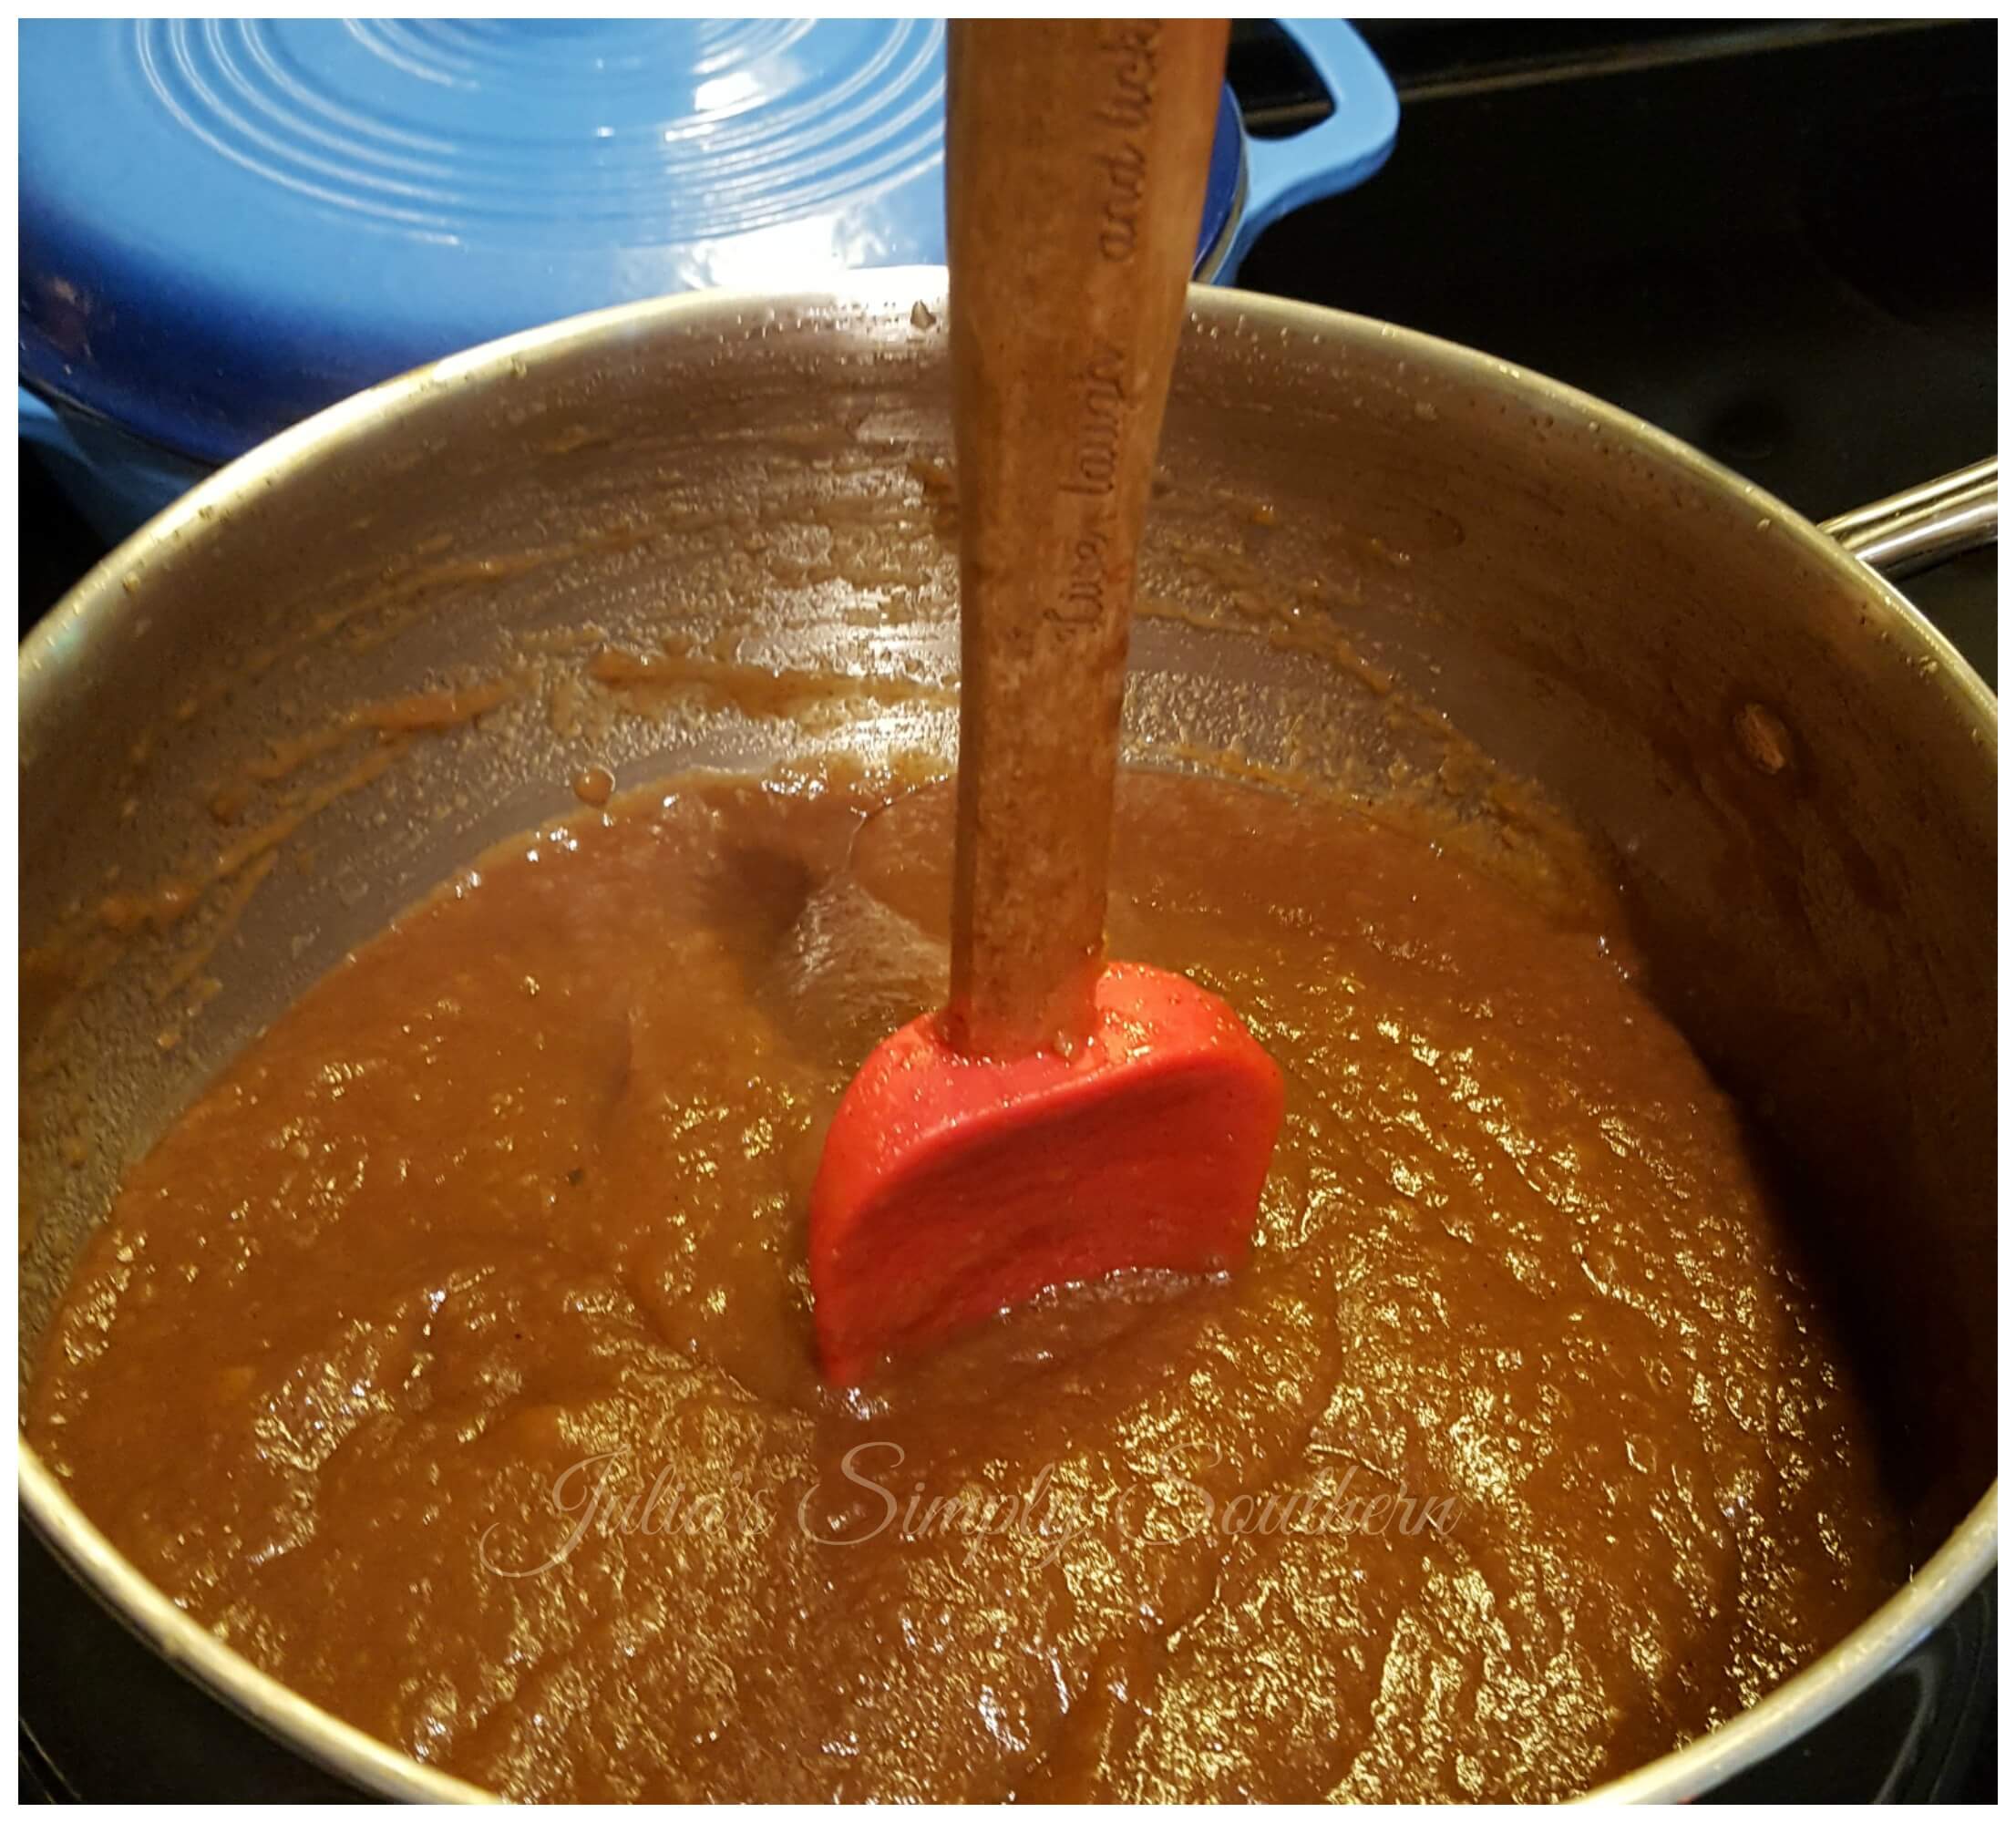
- Cover and reduce the heat to medium for the next half hour. Be sure to stir constantly after adding the sugar and spices. The dark brown sugar has more molasses and can burn to the bottom if left unattended. Trust me, I found that out the hard way once upon a time.
- Each time you stir break, down the softened apples. You’ll be able to break everything down quite a bit just using your spatula or spoon during the cooking process.
- After 30 minutes cooking on medium, reduce the heat once more to a low simmer setting. Vent the lid on the pot to allow for evaporation to thicken up the mixture.
- Cook for an additional hour, stirring occasionally.
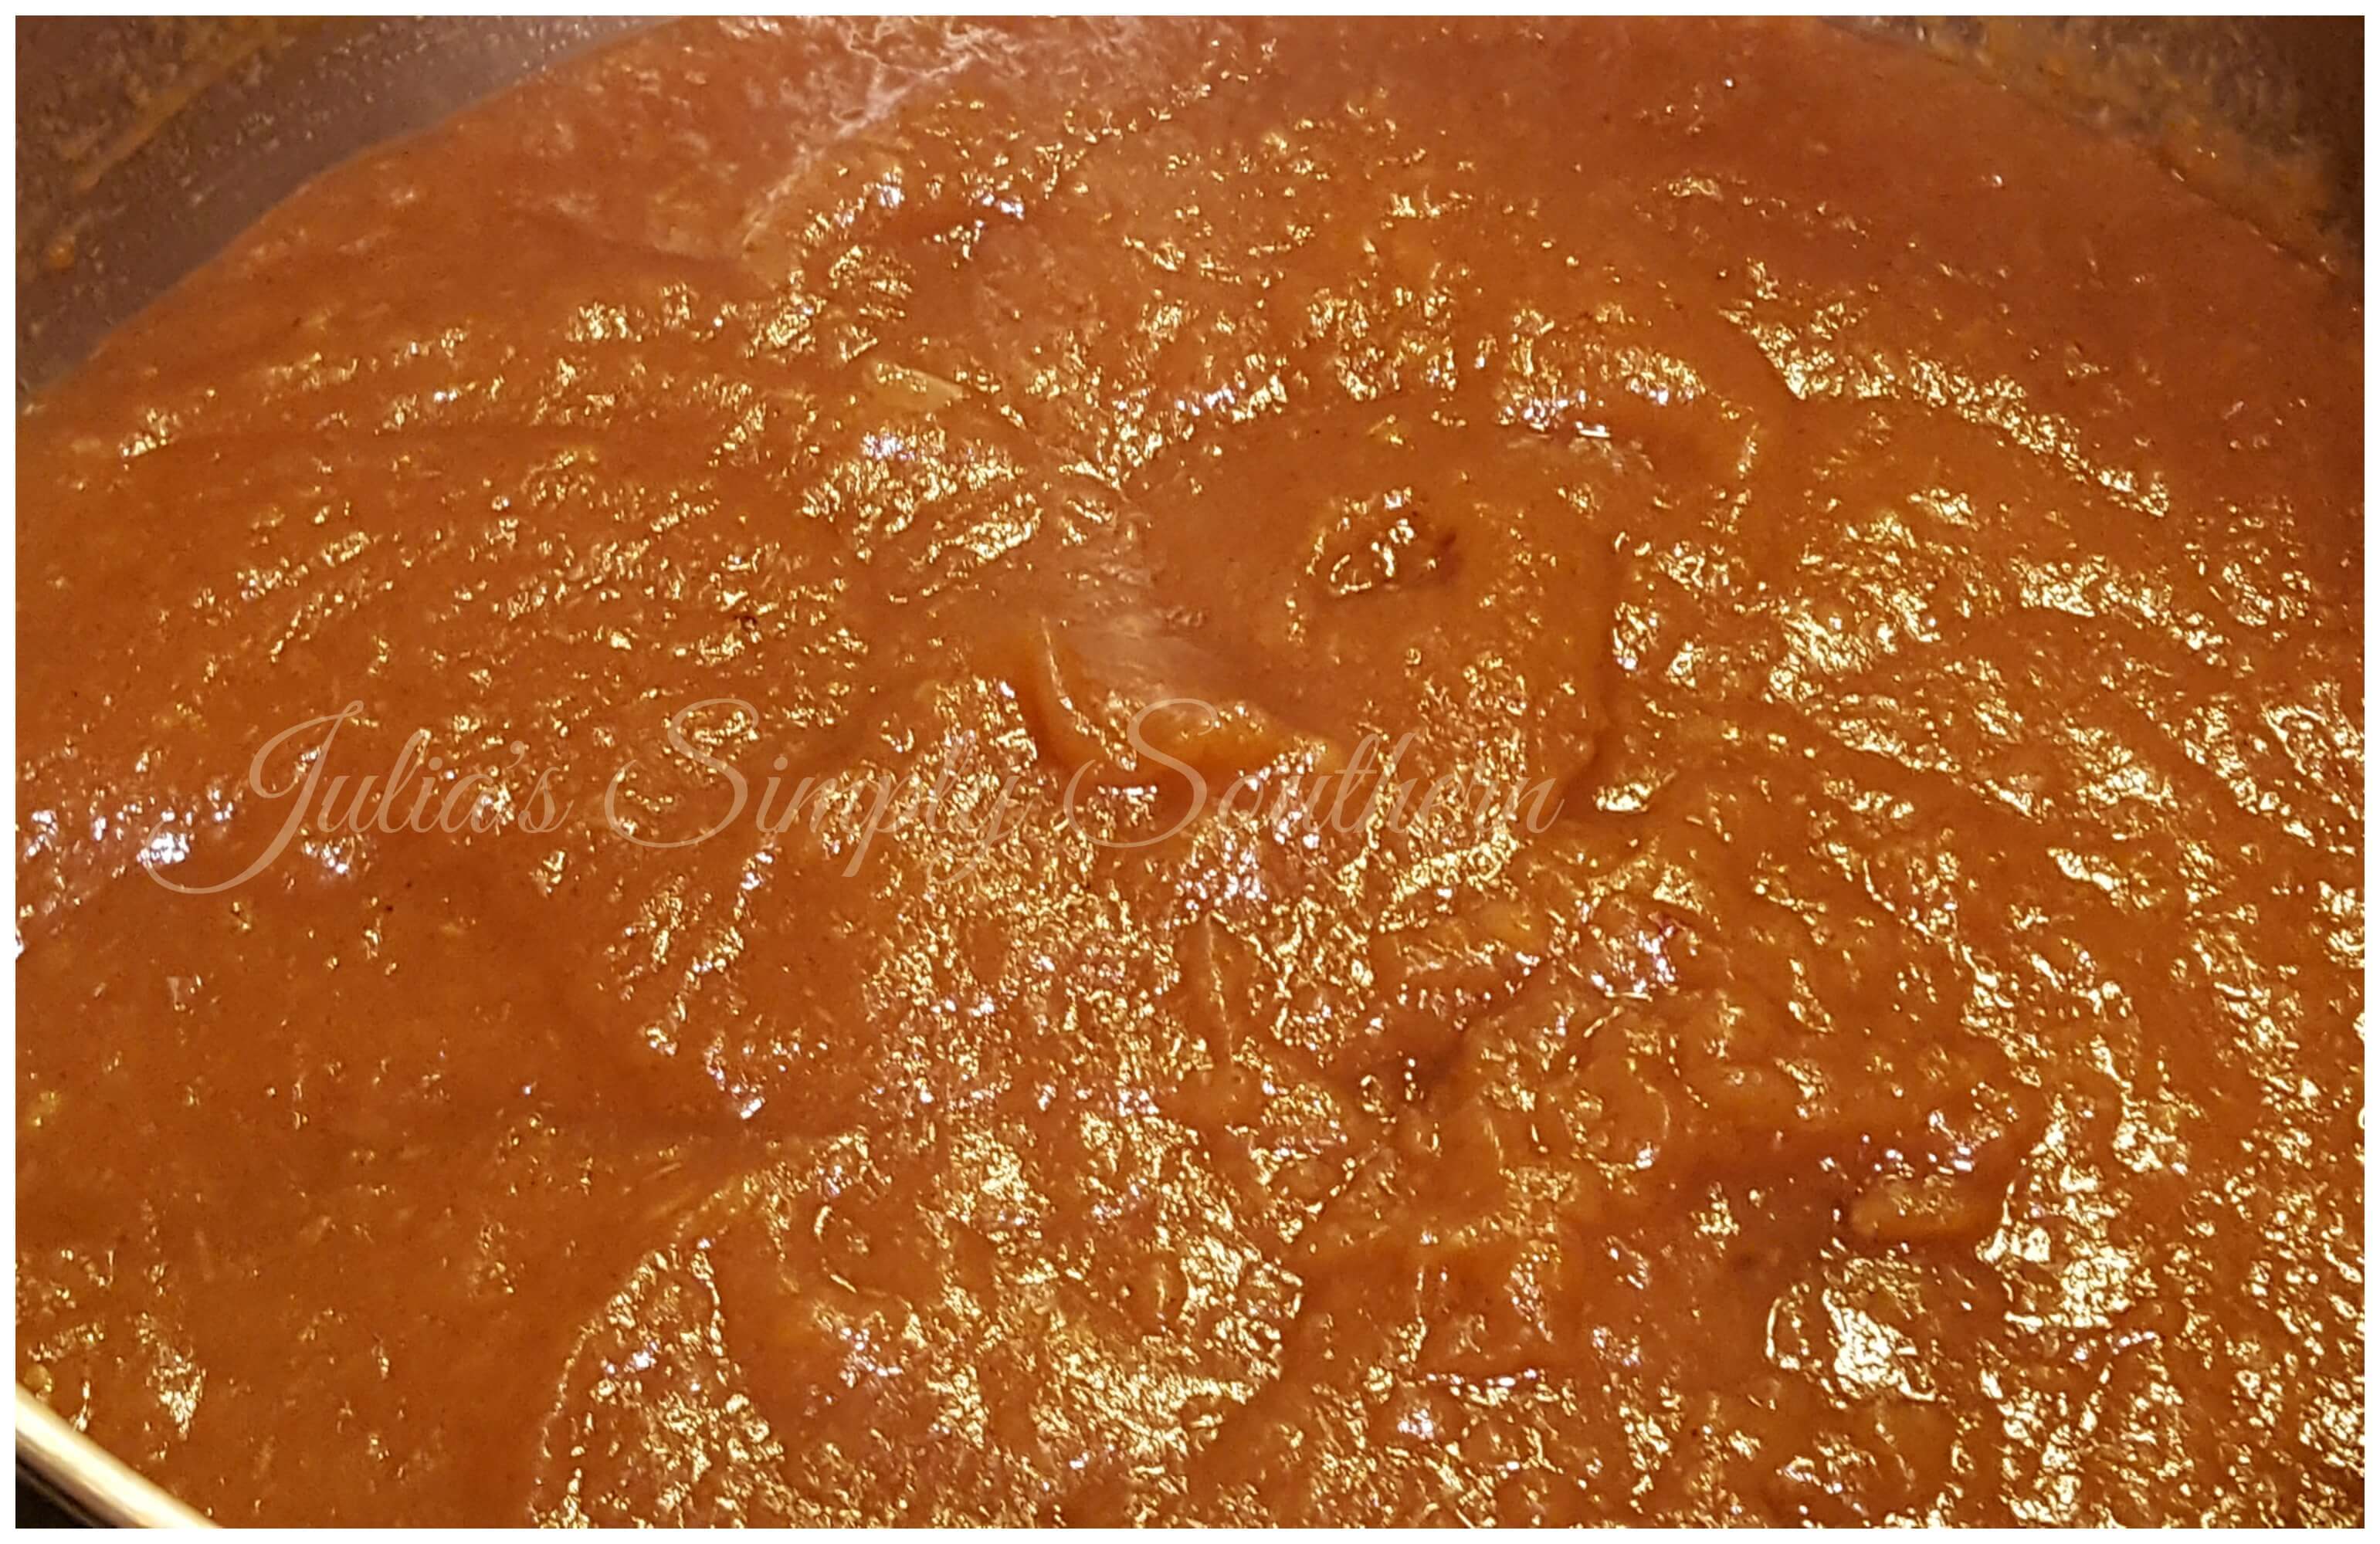
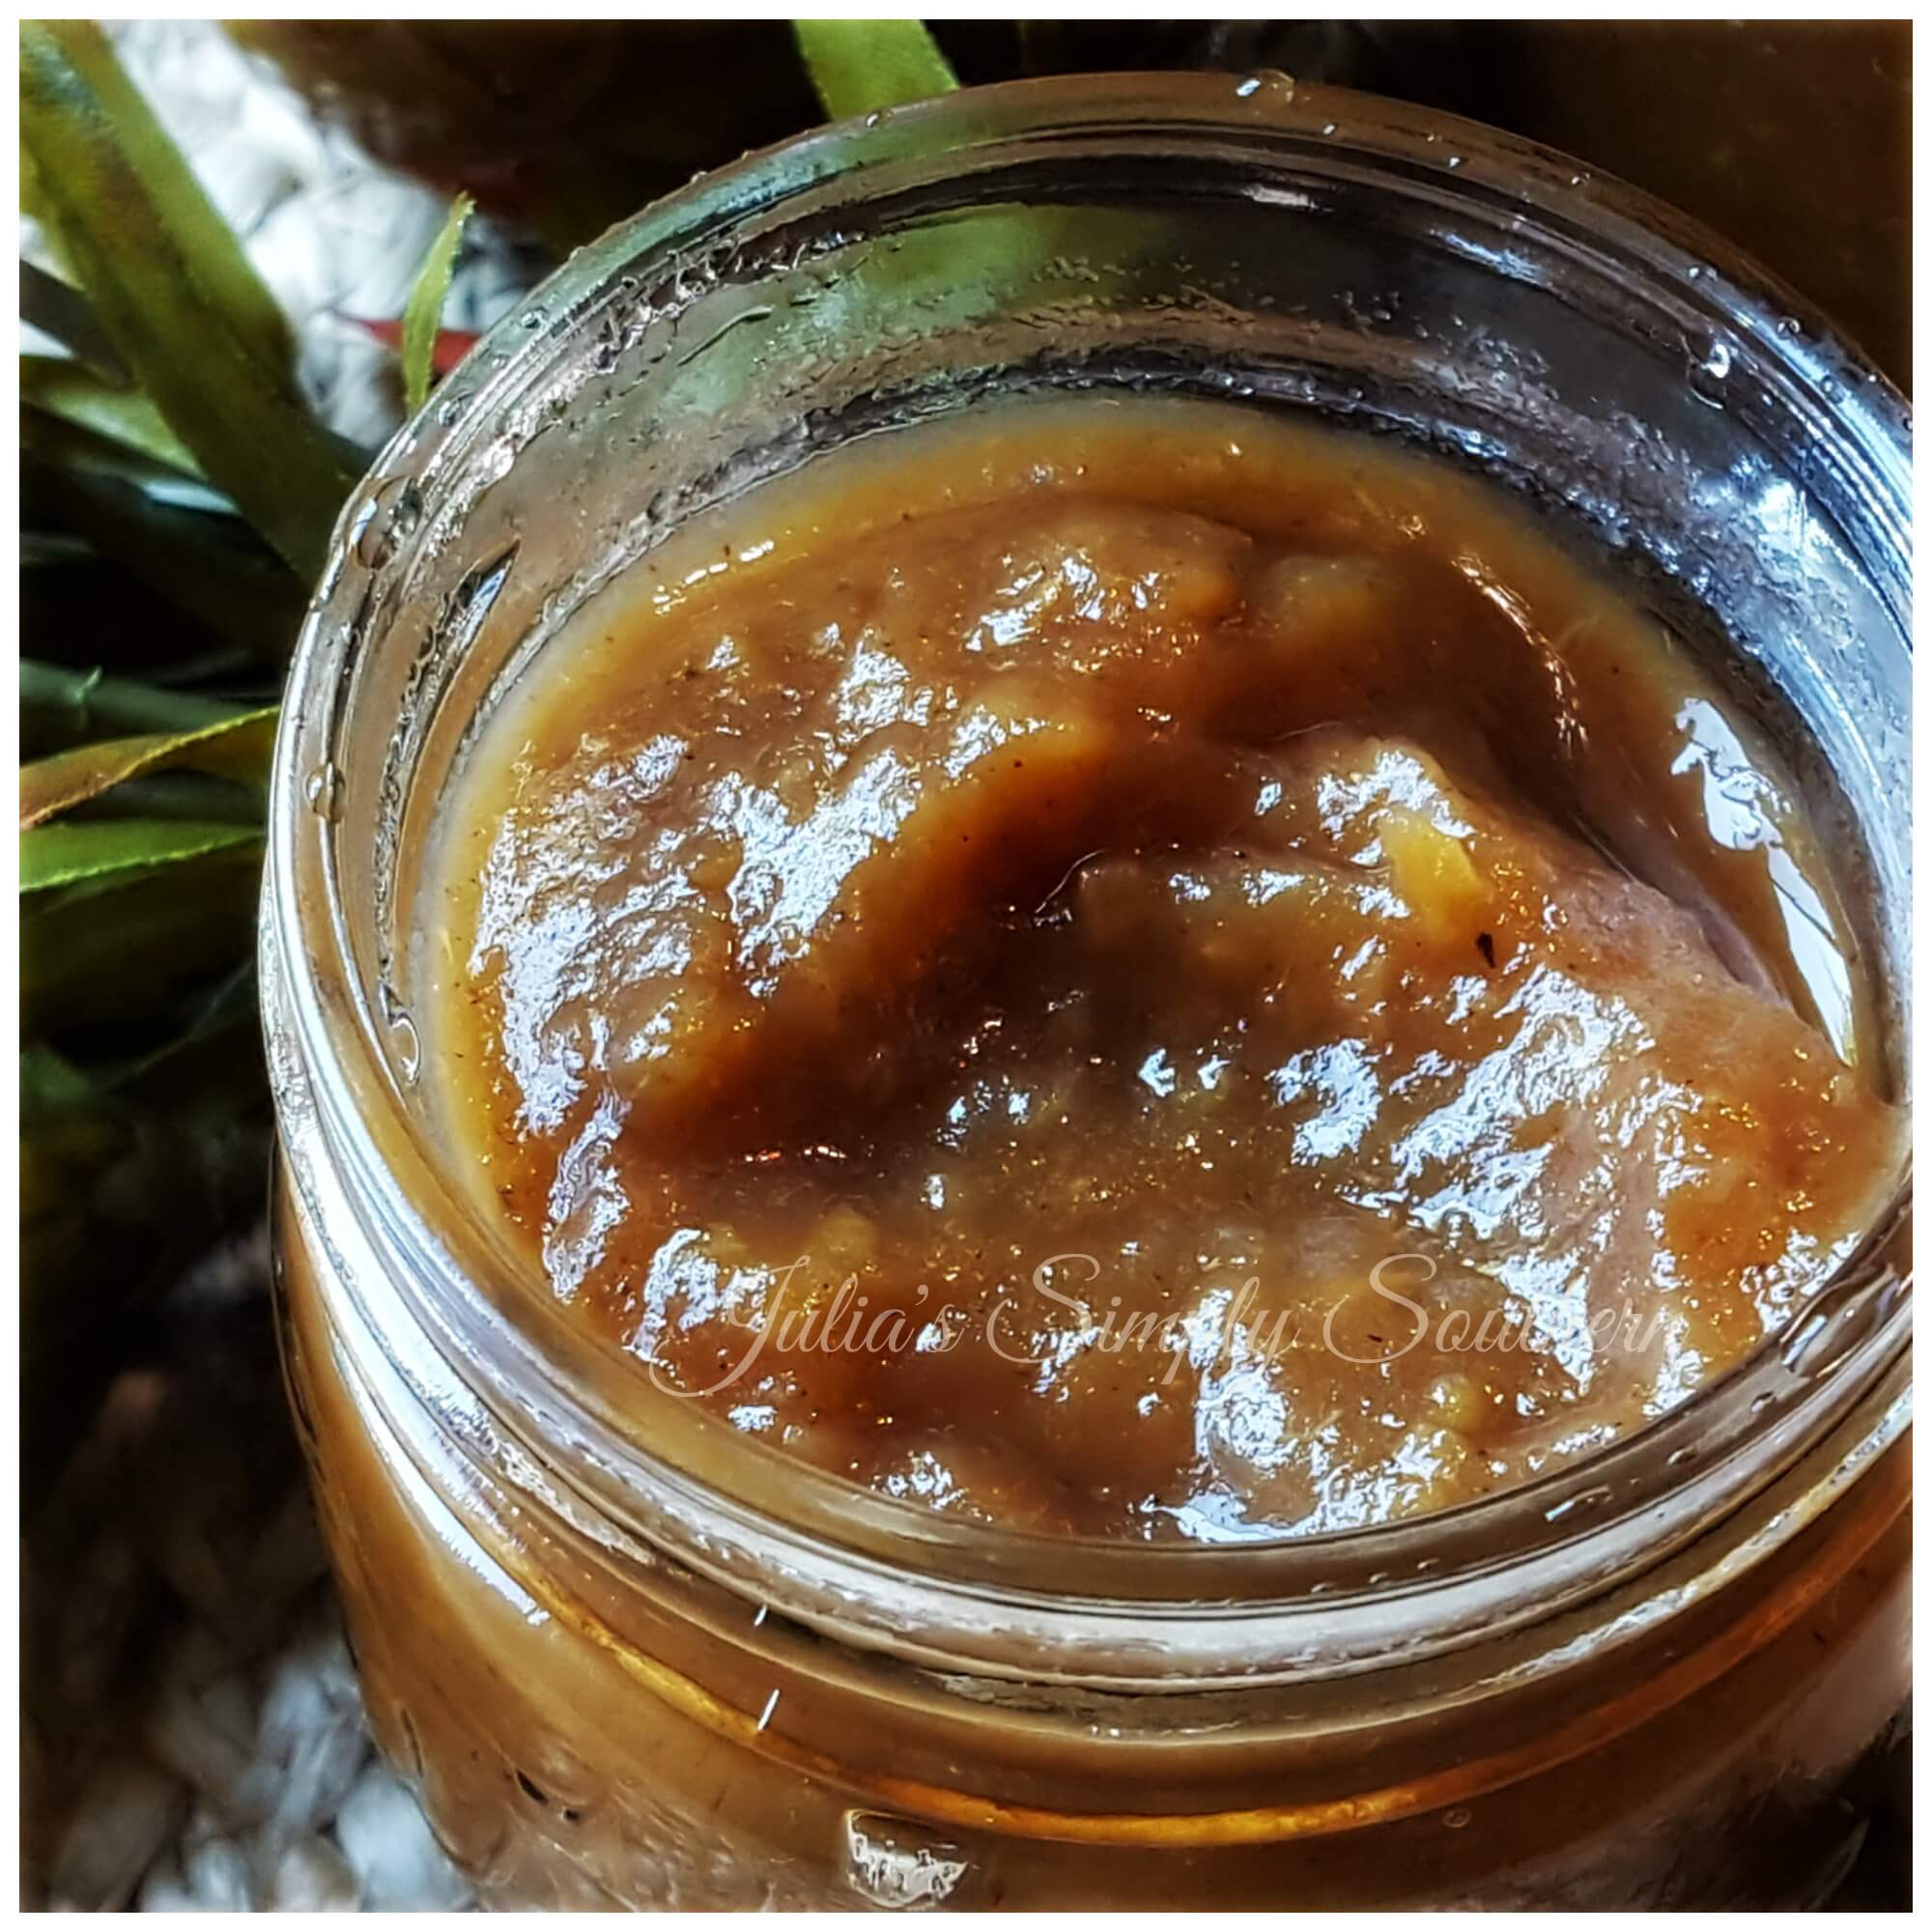
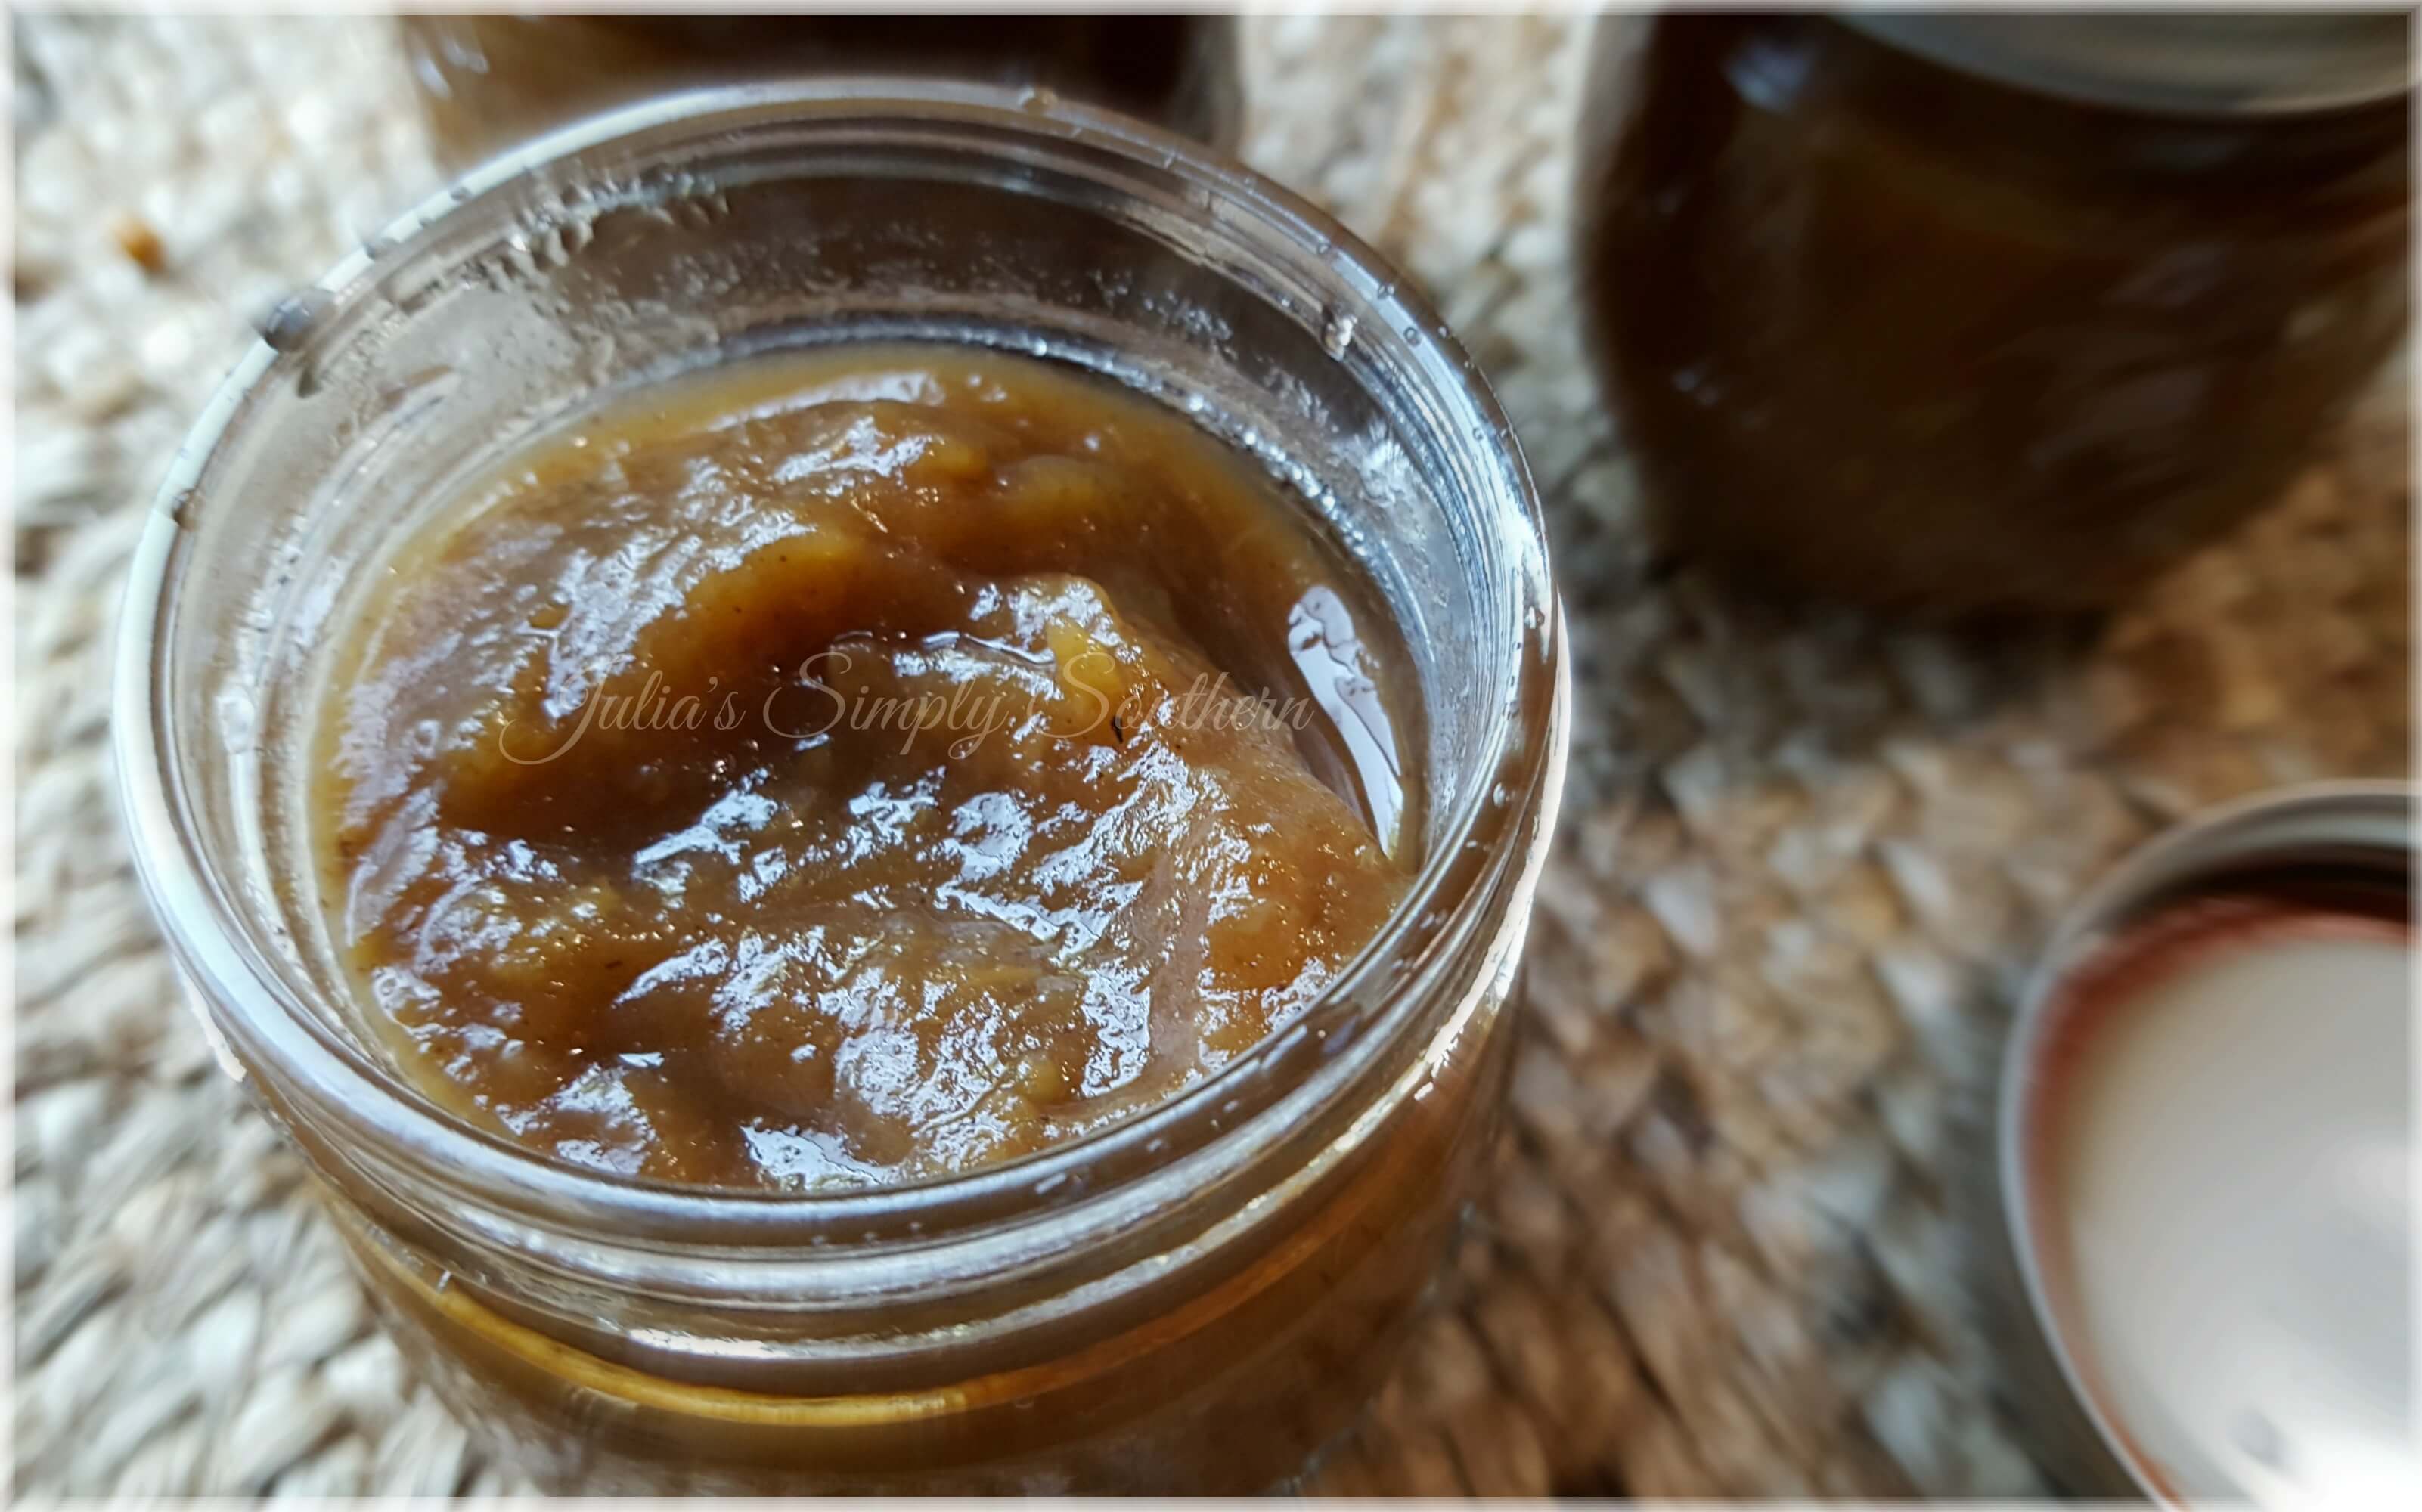
- When the apple butter is done a spoon should stand straight up in the mixture.
- Use an immersion blender to blend the apple butter to a smooth consistency. See how creamy it looks and you can’t tell there were peelings in there at all. If you do not have an immersion blender, no worries, you can use a food processor.
- Can if desired using safe canning methods.
Nutrition

About Julia
Hey Y’all! I’m Julia, the cook and writer behind the recipes here at Julia’s Simply Southern. I began my website so that I could share easy to follow recipes that anyone can use to put a home cooked meal on the dinner table. Thanks so much for stopping by!
Follow me on Facebook | Twitter | Instagram | Pinterest | YouTube


That spoon trick works like a champ every time. Thanks for the mention, and so happy you tried it and like it.
I love learning new tricks and tips 🙂
This looks so good, and I bet makes the house smell wonderful!
It surely does! I just love it!
My husband would really love this apple butter. He told me last night he rather have my cooking than eating out. ugh so much work these men can be.
HaHa but such an amazing compliment!
We love Apple Butter and this looks like a great recipe! Thanks so much for sharing with us at Full Plate Thursday. Hope you have a great week and come back to see us real soon!
Miz Helen
I love the spoon trick. I’m going to have to try this recipe, and I bet the house smells amazing when you make it!
TY Julia. This is a great stove-top recipe for apple butter.
Thank you, Barbara!